Let's get international! 🌏
Before we get started. Make sure a 'Base language' is selected in the story settings page. If you're not sure how to do that, please see this page.
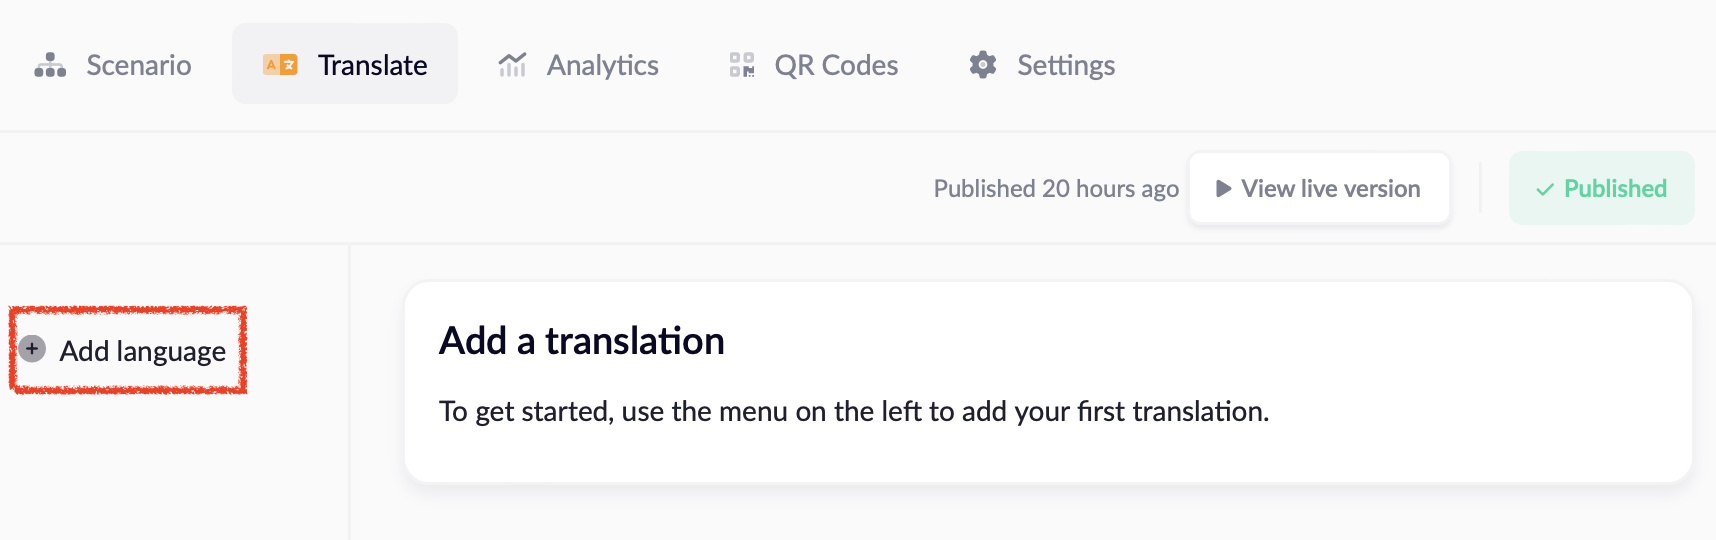
Add a language
Add your first language in the 'Translate' tab by clicking on the 'Add language' button. Select the language you wish to translate into, and we'll get started.
Translating your Story
First the basics, you can translate the story name and description to your chosen language. Everything you type is automatically saved, but will only be shown to the user after you publish the changes.
Translating content blocks
Below the name and description, you'll find all your content blocks in your scenario (including branches). Only the fields that can be translated are shown.
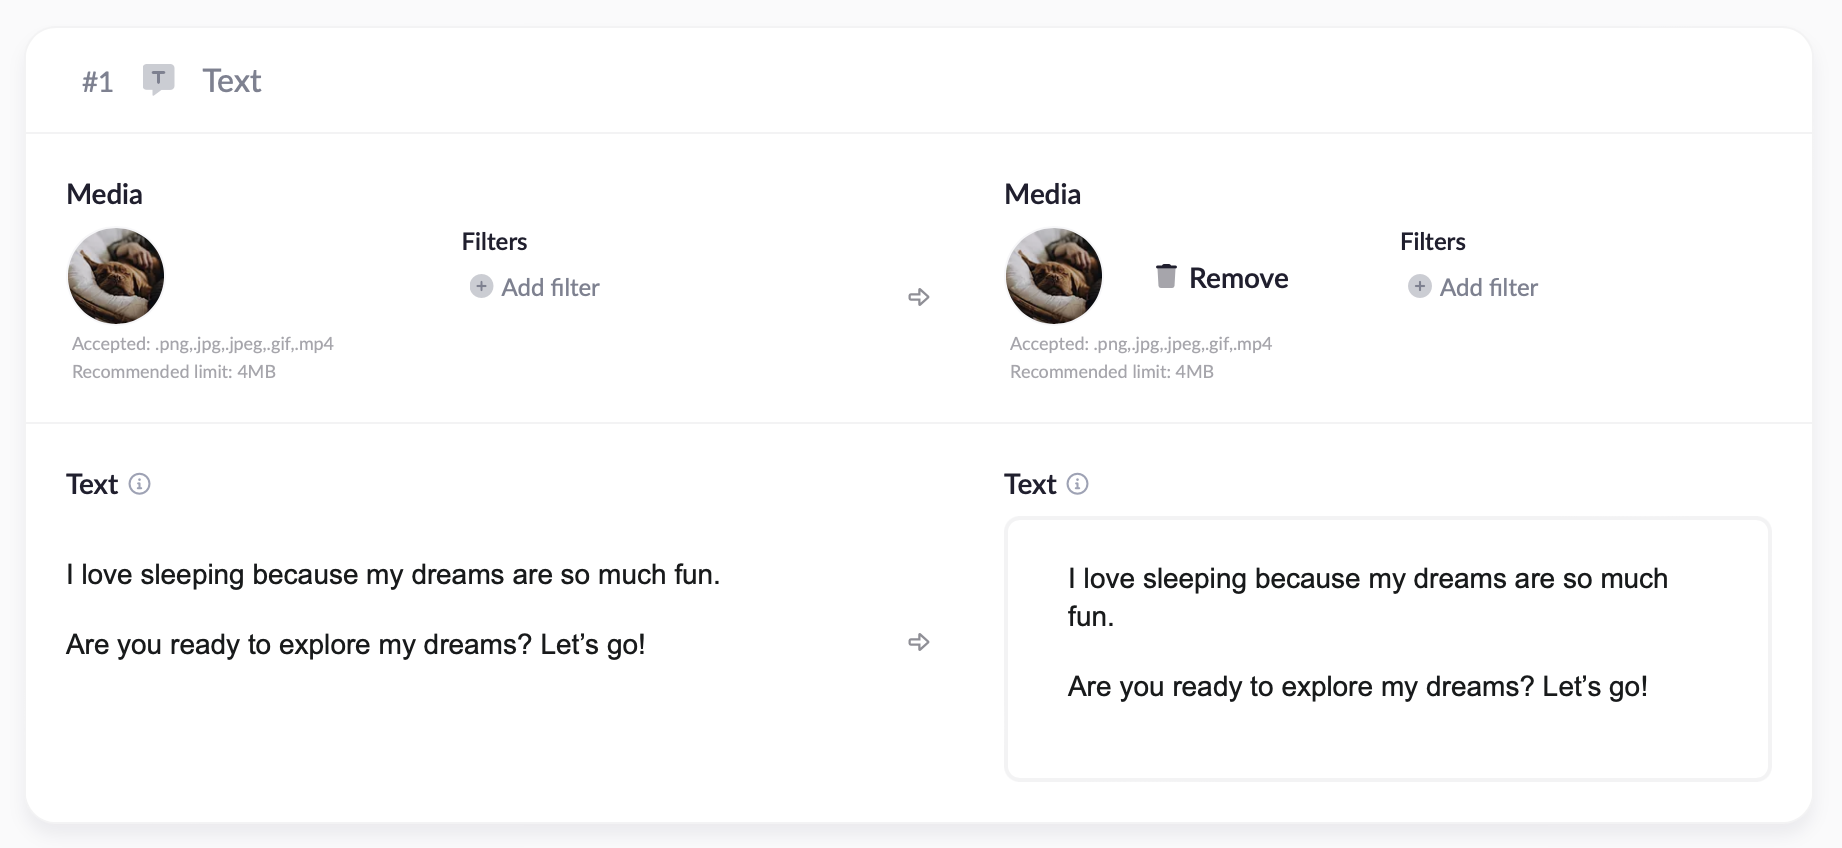
If you don't add a translation for some fields, the story will use the value in the base language. This means that, for example, you don't have to upload a separate image for each language, if the base image contains no text.
Publishing languages
When you have finished translating, check the box 'Active' and press the 'Publish changes' button at the top of the screen.
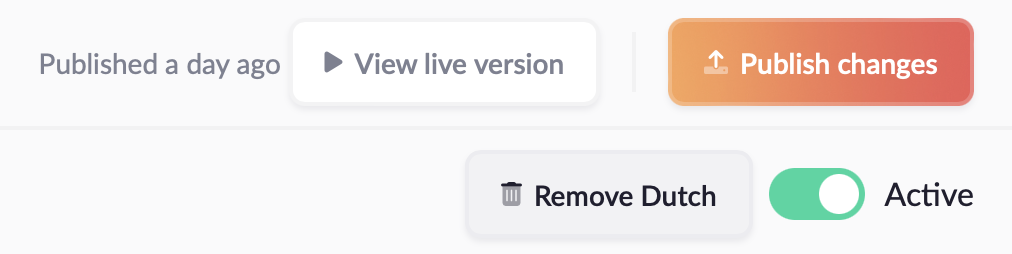
If the button says '✓ Published', your translation is ready! 🥳
When you want to disable a language, without losing all your work, simply uncheck the 'Active' box to disable it.