In this tutorial, we're going over all the possibilities of the map content block.
And trust me... the possibilities are extensive. 🤩
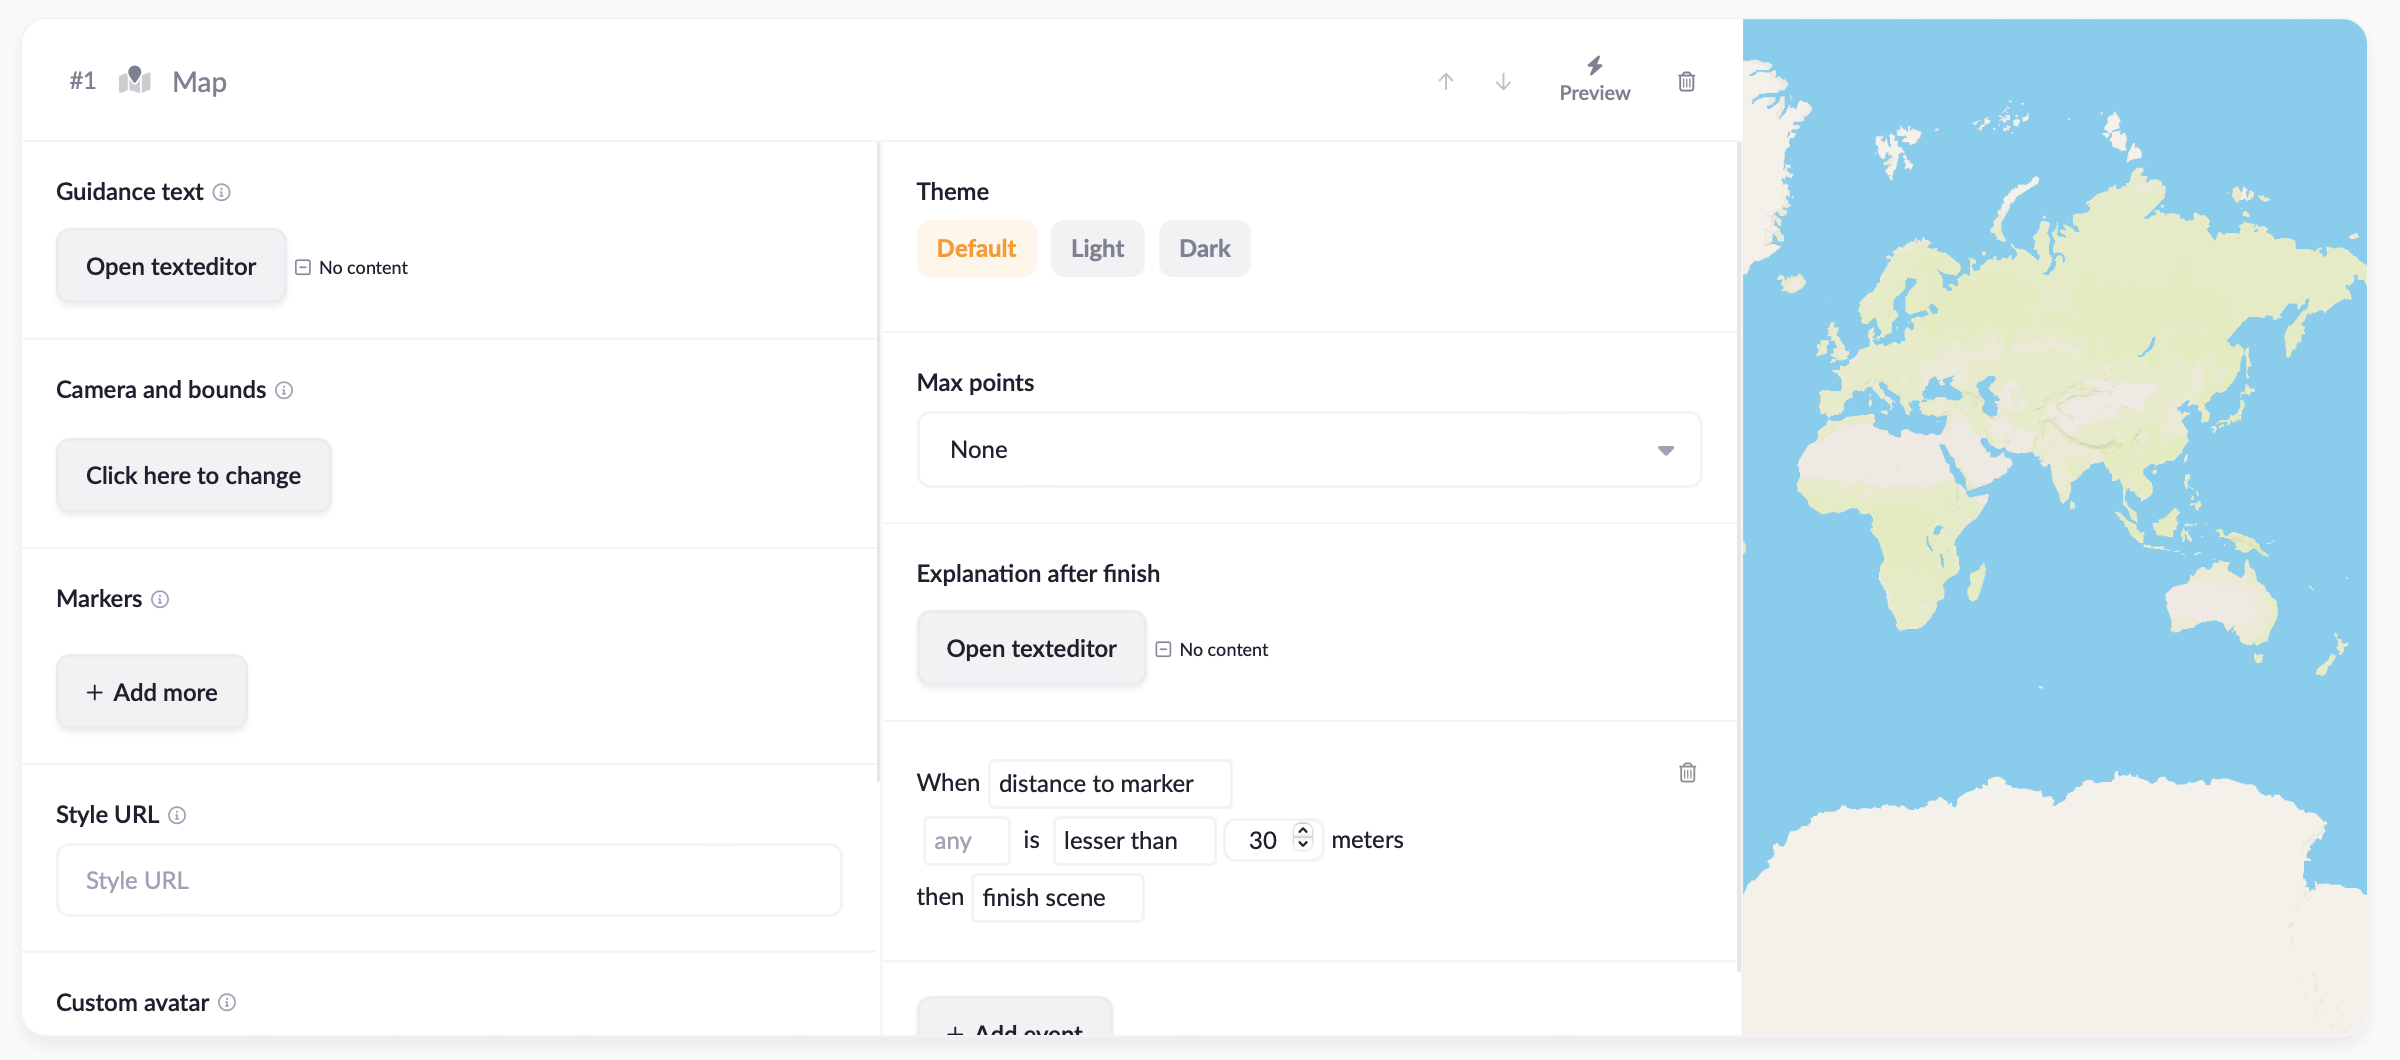
Camera and bounds
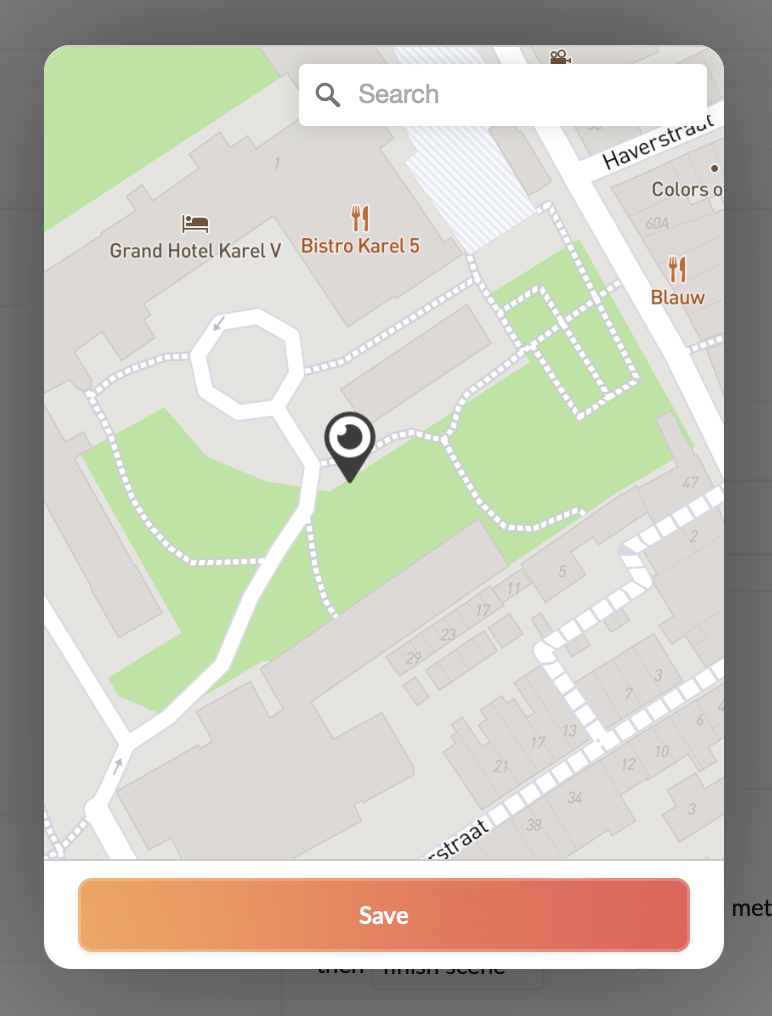
Let's start with setting up the playing field.
Press the 'Camera and bounds' button to create the board where your users are allowed to walk in.
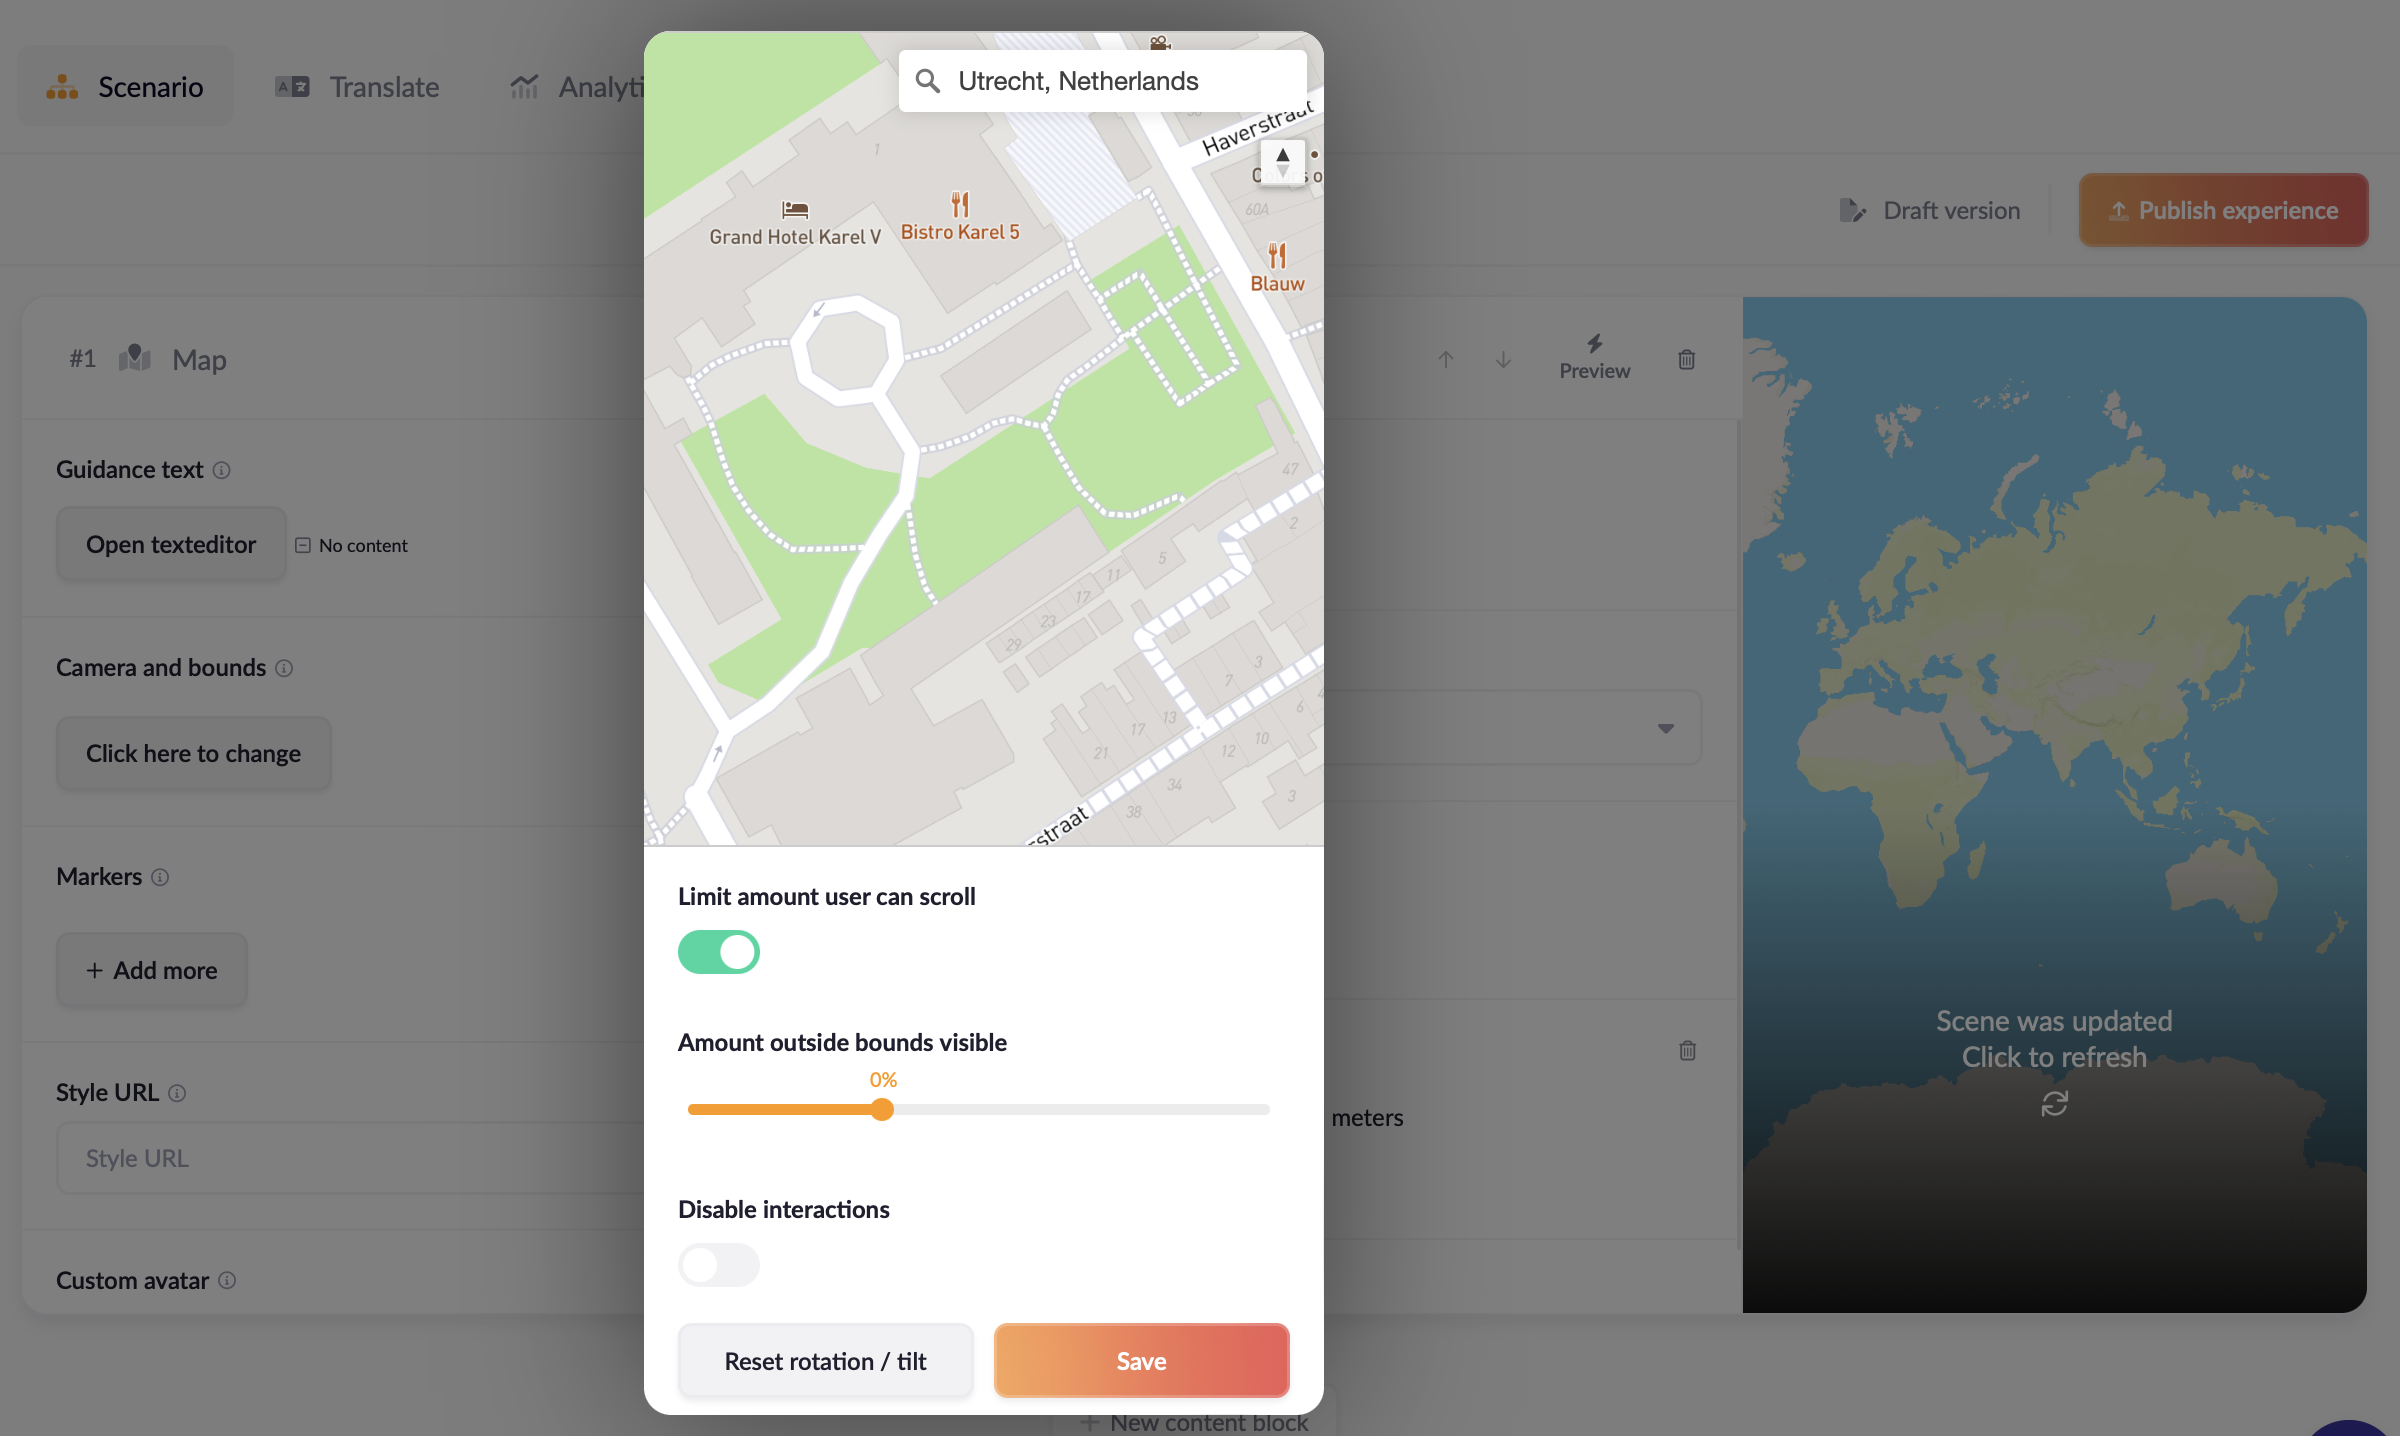
Drag and scroll, or use the search field to find your desired playing field.
Once satisfied, decide if you want your users to be able to swipe the screen or have it fixed on your selection.
Our advice is to limit, but not disable. Test the desired effect via ⚡️ Preview.
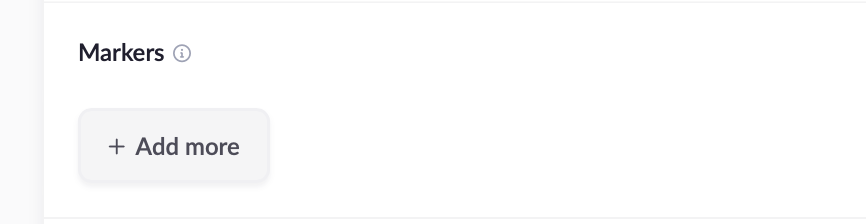
Markers
Now let's set the goal for the users to get to. Press the '+ Add more' button to create a Marker.
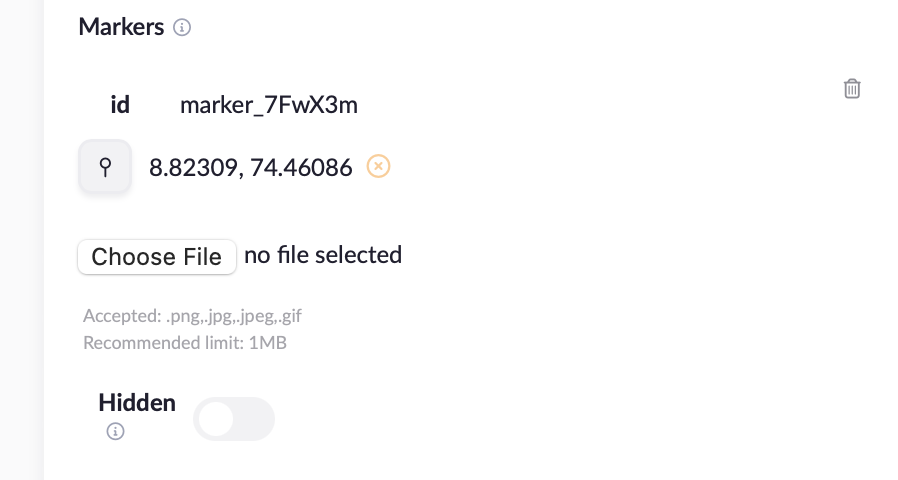
It will look like this ⬆️. Press the little pinpoint icon to place the marker on the map.
Custom marker image
Use the 'Choose file' button below the marker to upload a custom marker image.
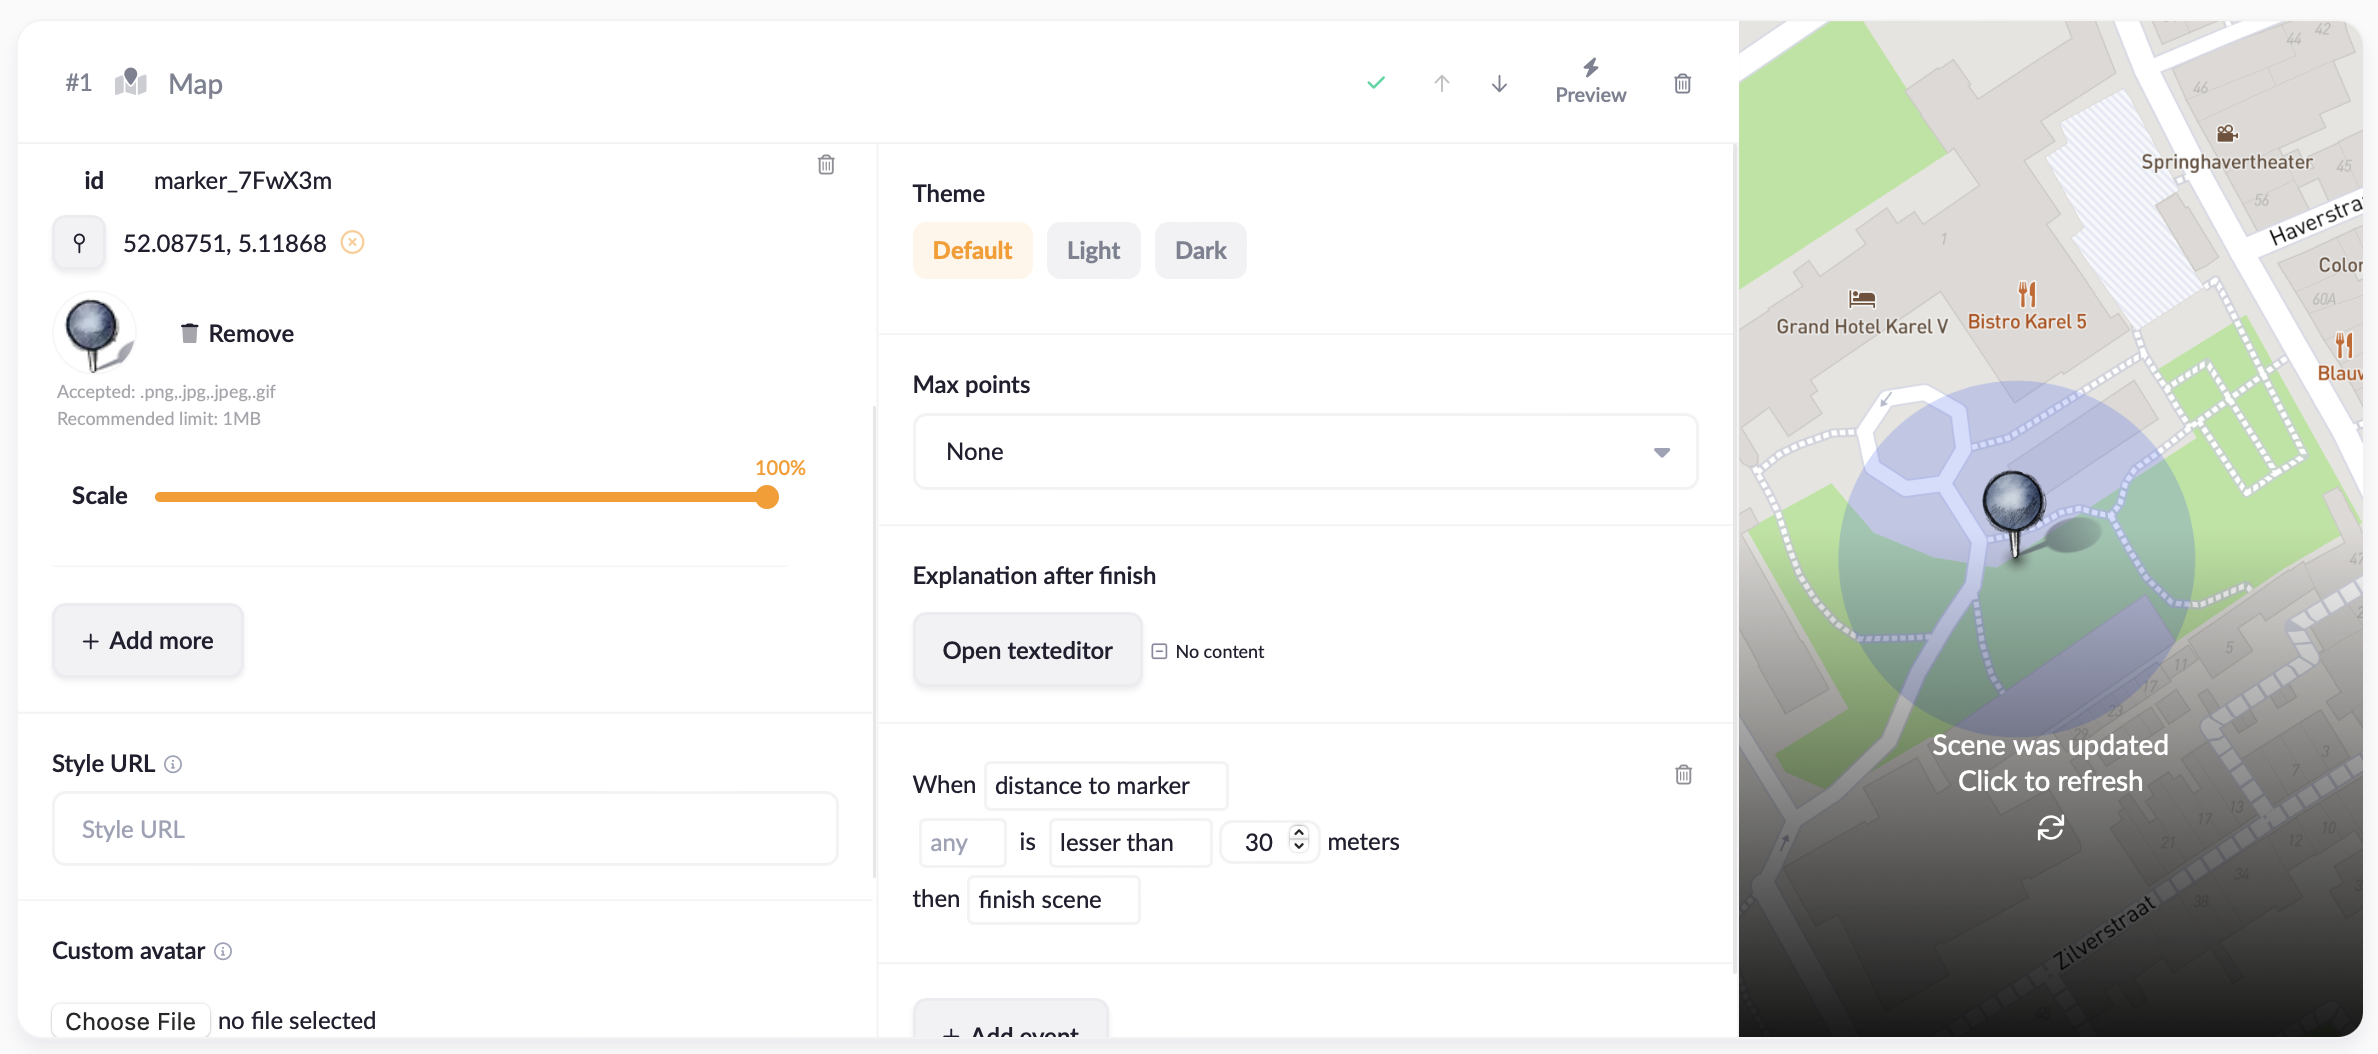
It will look beautiful! 😍 Make sure it's a PNG with a resolution of approx. 250px.
The same is possible for the users GPS image. Change this with 'Custom avatar'.
Logic
Now, you might have noticed the logic that has magically appeared in the middle of the content block. 🪄
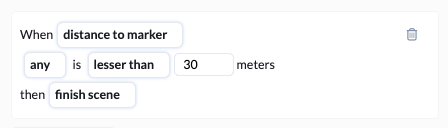
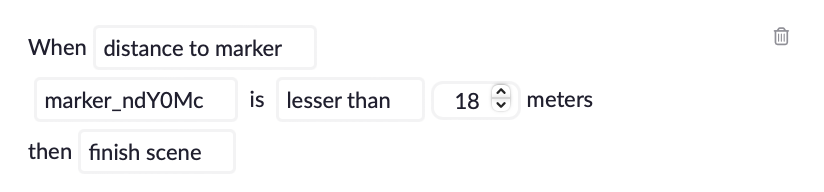
This means that when the GPS signal of the user gets within 30 meters (actually 15 meters), the content block will continue.
The 30 meters is the diameter, so actually it's a radius of 15 meters. ✓
Search game
Logic is especially convenient when creating multiple markers.
Like this example ⬇️ where the players have to walk to the correct animal.
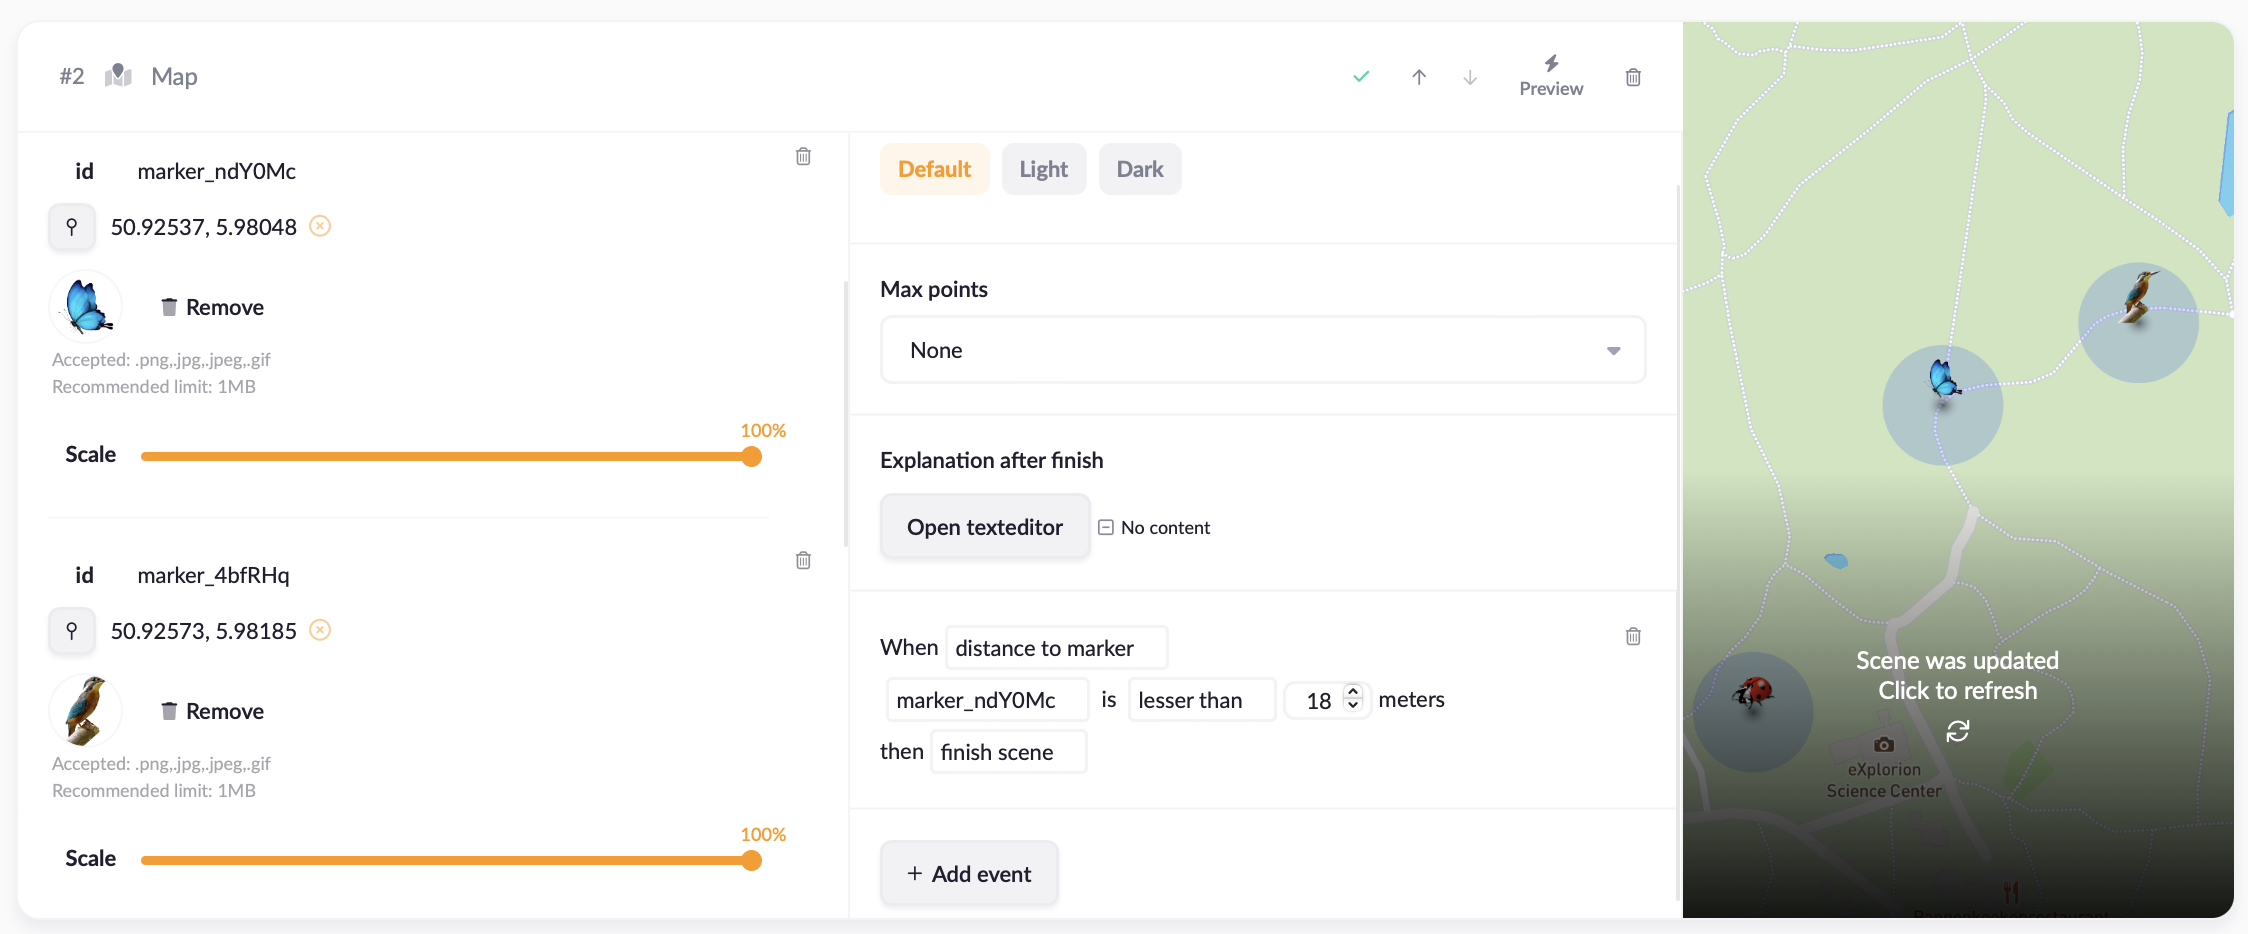
If we look closer at the logic, we see that this content block only continues when the users are within 9 meters (18 divided by 2) of marker_ndY0Mc (e.g. the butterfly).
And voilà! We've created a location based search game. 😁👍