So, you want to create stories that a user can physically visit? 🗺️
An open world lets you do that by connecting your stories to a specific location using the GPS location of the user.
This way, the user can walk to a location and start a story in any order they like.
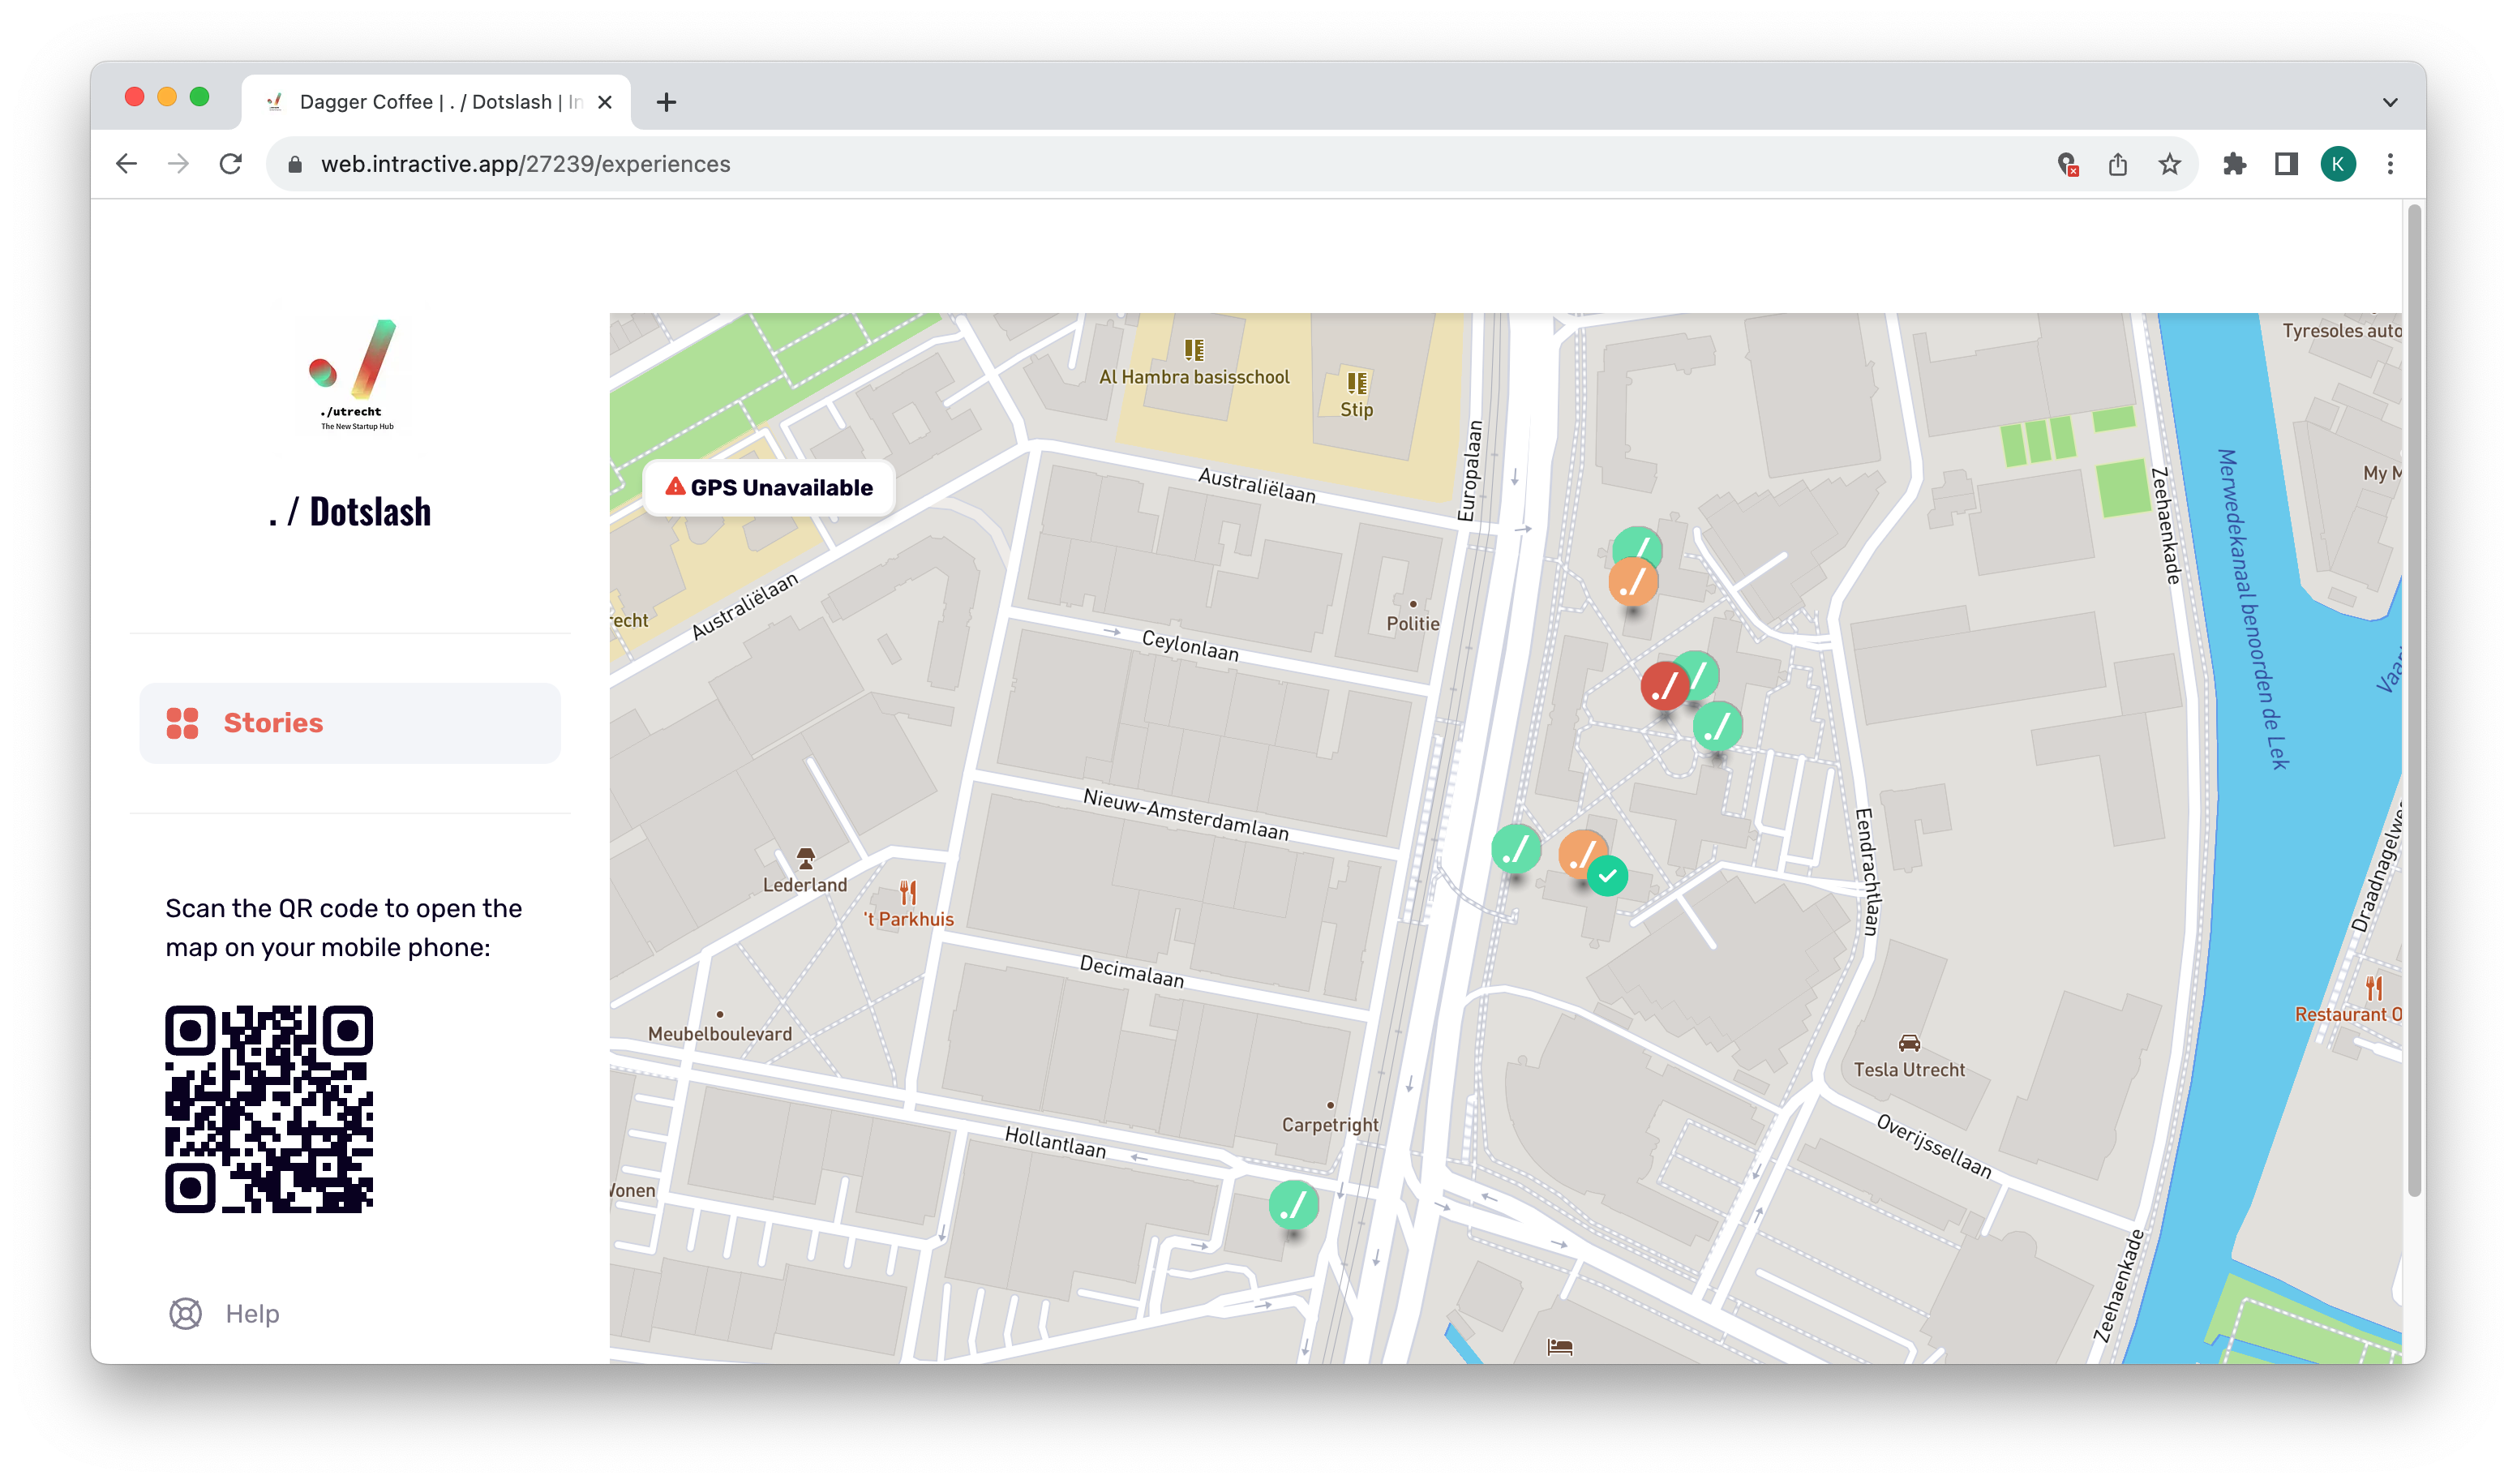
Here you can see an Open World from our startup campus, Dotslash ⬇️:

Scan the QR code or click here to see for yourself.
Using GPS is not necessary. The user can still click on the stories to see them from the comfort of their home in the map overview.
Setting up the project
For the open world to work we have to change the project to a map based project.
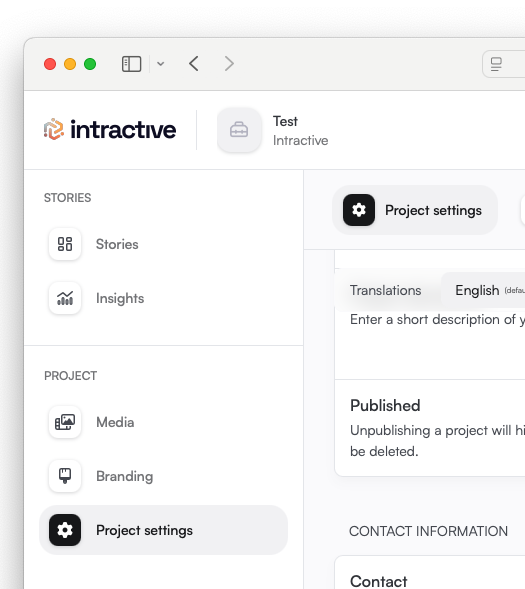
- Go to 'Project'.

- Turn on 'Map based project' under 'Project settings'.

Setting up the stories
Now that our project is set up we have to connect our stories to the open world.
- Go to 'Stories'.
- Select the story you want to show up on the map.
- Go to '⚙️ Settings'.

- Click the📍 icon at 'Start location'.

- Type in the address you want the story to begin.
- Copy this address and paste it at 'Start address'.
Note: All stories you want to show up on the map should have the same 'Start address'. The Coordinates for the 'Start location' can be different though. - Repeat these steps for all the stories you want to add to your open world.
Adding an image to your story

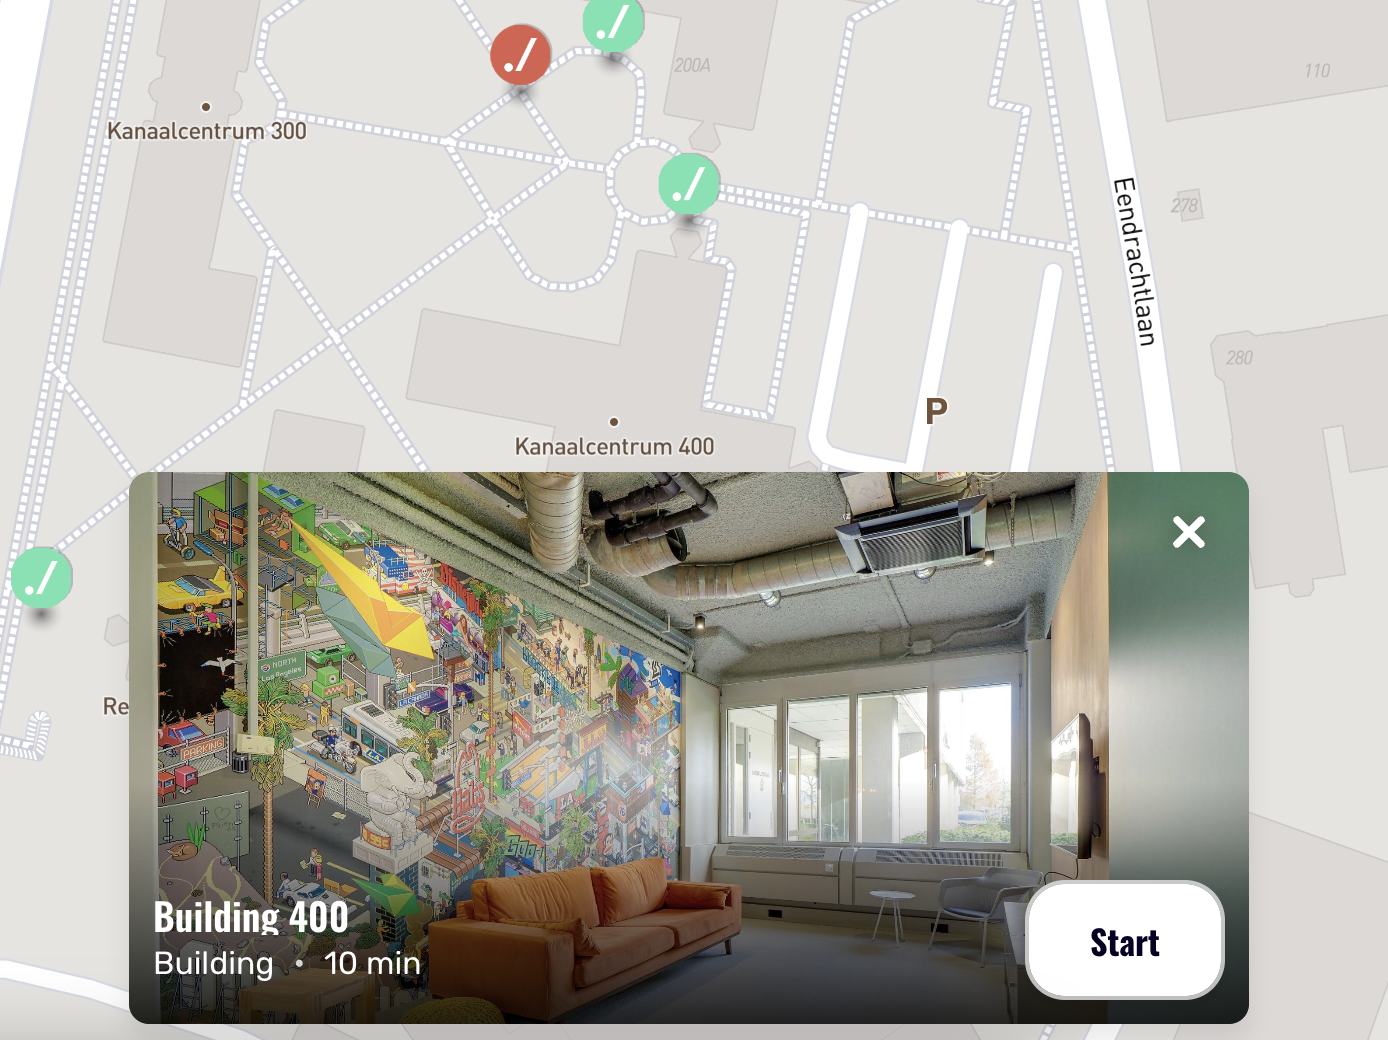
If you want a preview when the user clicks on the marker like the image above, you need to add a story image.
- Click on the story you want to add an image to.
- Click on '⚙️ Settings'.

- Select 'Choose file' next to 'Story image'.

Making a QR code
Let's test if everything works as expected by making a QR code.
- Go to 'Project' on the right.

- Go to 'Project QR codes'.
- Click on '+ Create QR code'.
- Give your open world a name and click on 'Create'.

- Copy the link in your search bar and see your newly created open world!