First things first
You can make your ready-to-use QR code in the Builder via Story → Share → QR.
Just style it, download it (PNG or SVG) and drop it into whatever you’re printing: poster, flyer, cup, name badge.
The best part? Your QR code stays the same even if you tweak your story and hit publish. That means you can keep improving your content, updating visuals or text, and your printed QR codes still point to the latest version.
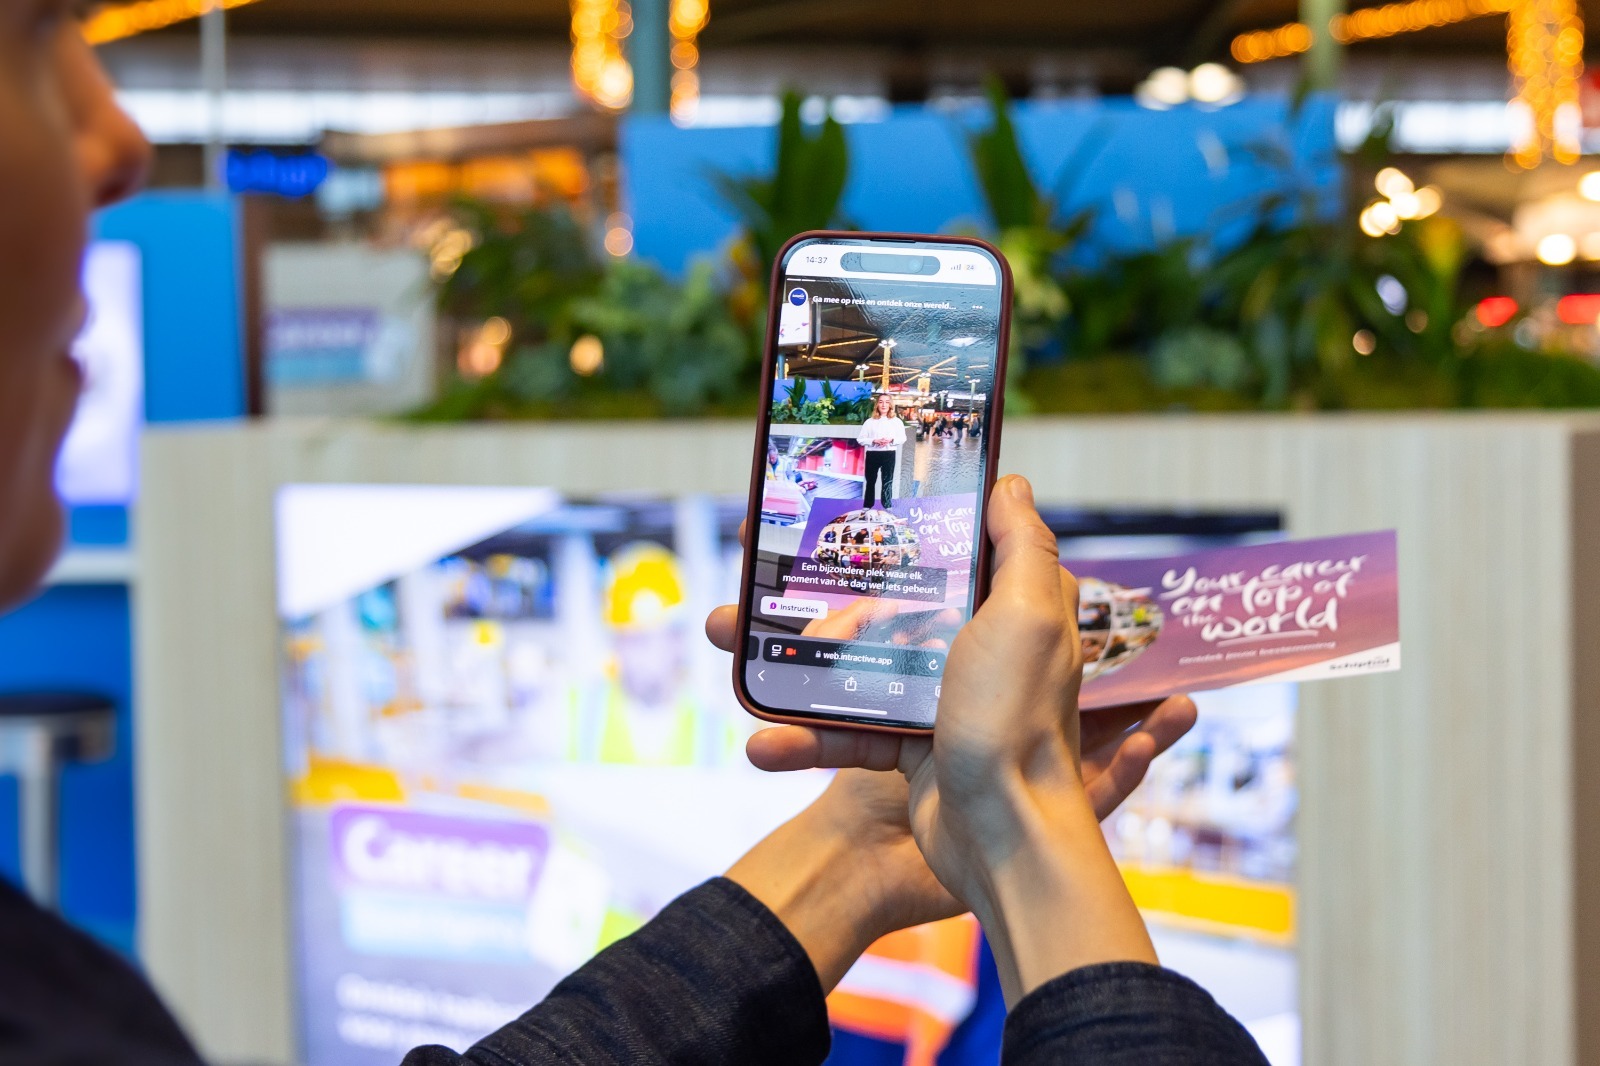
🖨️ Flyers, posters, merch, products
Best for: Events, campuses, offices, retail.
How-to:
• Add a QR code to printed materials
• Make sure there’s a clear call-to-action next to it so people know why they should scan: “Escape this meeting”, “Pick your flavour”, “Start onboarding”.
Examples:
• Posters in hallways
• Stickers on laptops
• Table tents at job fairs
• Even coffee cups (yes, that’s been done)
.jpeg)
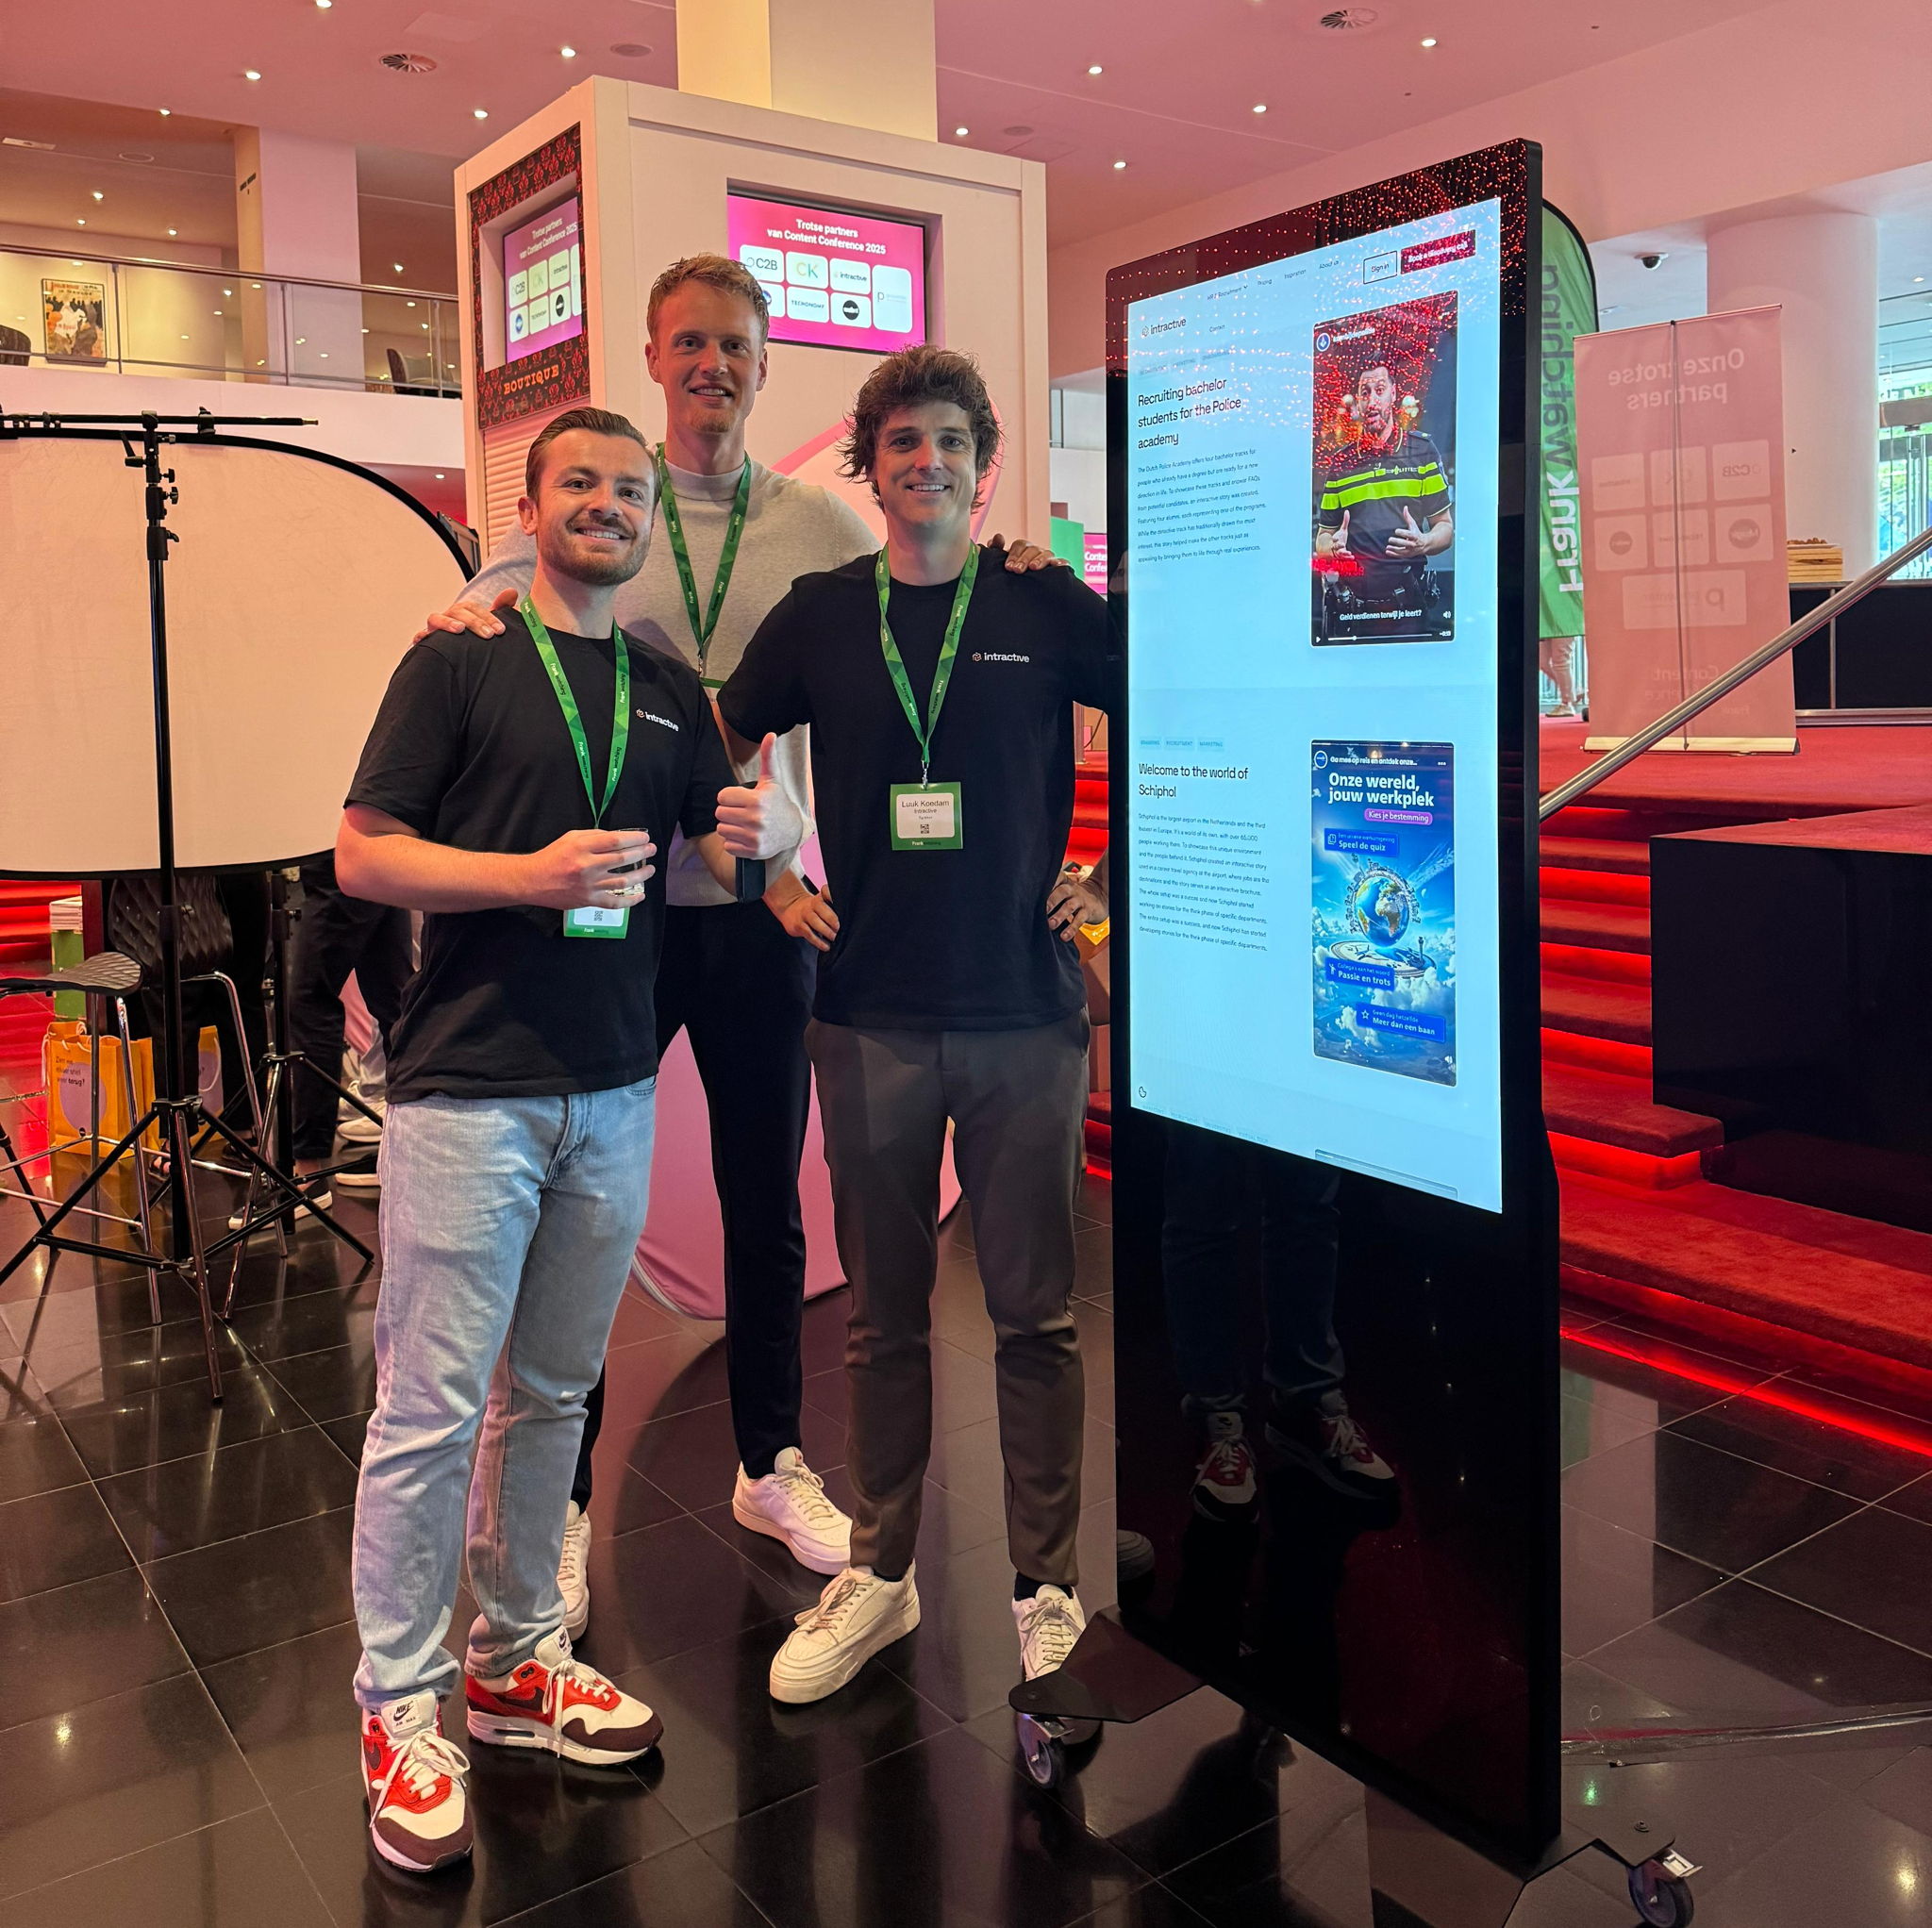
🎤 Events & presentations
Best for: Recruitment days, industry events, internal rollouts.
How-to:
• Display the story on a touchscreen or tablet
• Or let people scan a live QR code during a presentation
• Use the story as an interactive break or icebreaker activity
🕵️♀️ Looking for something a little more… adventurous?
Turn your stories into a side quest by hiding QR-codes in different locations and linking each one to a separate mini-story packed with challenges, trivia, or clues.
Participants unlock them one by one, like a scavenger hunt, and their progress feeds into a live leaderboard. Perfect for events, onboarding trails, or campus tours where you want people to explore, compete, and come back for more. 🏁
📊 Last but not least: track, test, tweak
Want to know what works? Don’t guess, track.
• Add UTM parameters to your links for campaigns
• Use tools like Google Analytics or HubSpot to monitor performance
• A/B test different placements (e.g. CTA button vs. inline link)
• Ask for feedback directly in your story. Yep, that’s possible too 😉
More inspiration 👇🏼