In this article, we'll show you how to create links and QR Codes.
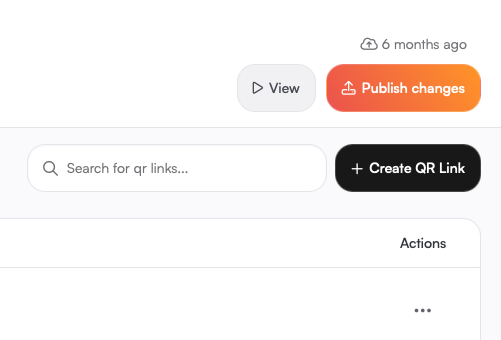
In 'Share' tab, press the 'Create QR Link' button. Now you can fill in some extra information.
Let's go over the settings.
 Name
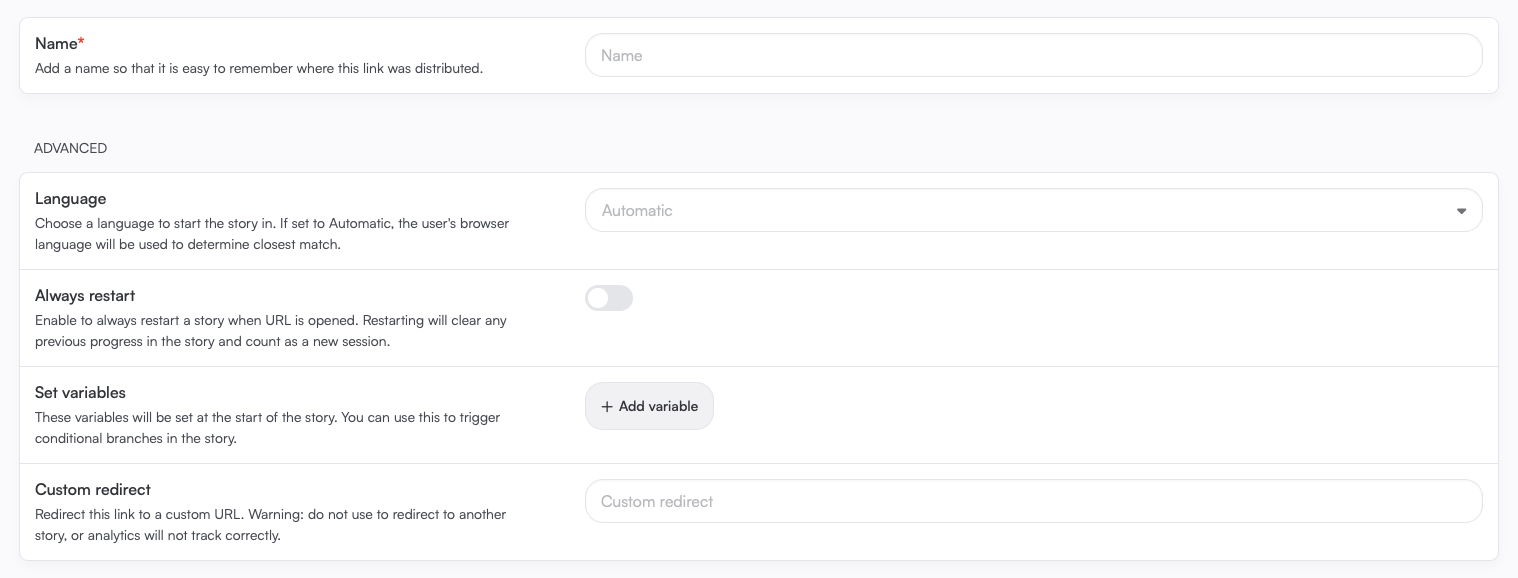
Name
Especially if you're creating multiple links / QR Codes, this is an important field.
By properly naming them, you can see which campaign, post, or other channel is performing the best.
Language
Choose a language to start the story in. If set to Automatic, the user's browser language will be used to determine the best option.
Always restart
Enable to always restart a story when the URL is opened. Restarting will clear any previous progress in the story and count as a new session.
Set variables
These variables will be set at the start of the story. You can use this to trigger conditional branches in the story.
For instance, you've distributed multiple QR links and want each of them to start with a different content block, this can be done with variables and the Logic Branch.
Custom redirect
Even after you've printed, posted or otherwise distributed the QR Code or link, you can change where it navigates to.
Say for instance you've printed 1,000 flyers with a QR Code on it, and later you want to redirect it to a different story. Then simply paste the URL of the new story in this field and Voilà.
Style
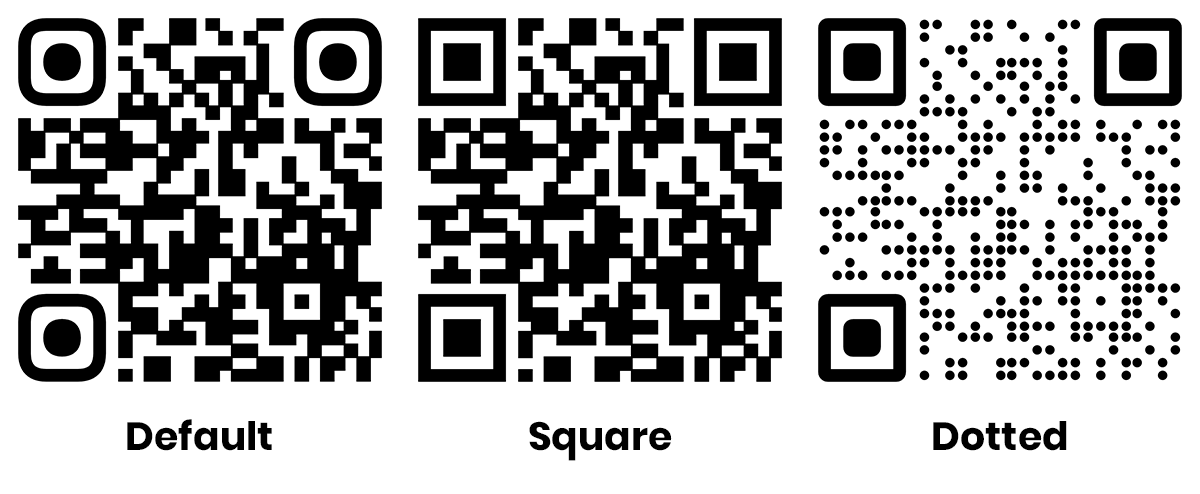
We support 3 different QR code styles.
Color
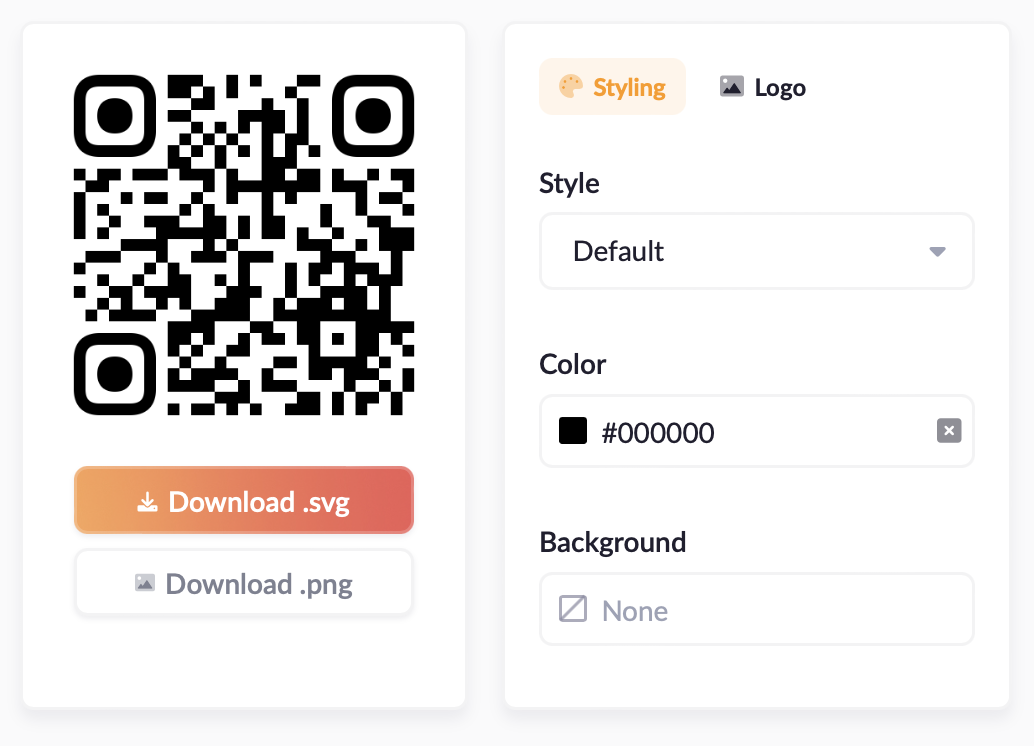
Change the color of the QR code by clicking the Color field. We advise using a color that contrasts with the background. Black on white works best for scanning.
Background
The default background for the QR code is transparent, but you can choose any color you want.
QR Code analytics
Below, we see an example of a published QR Code. Underneath the QR code and link, you see the Analytics data. 👀
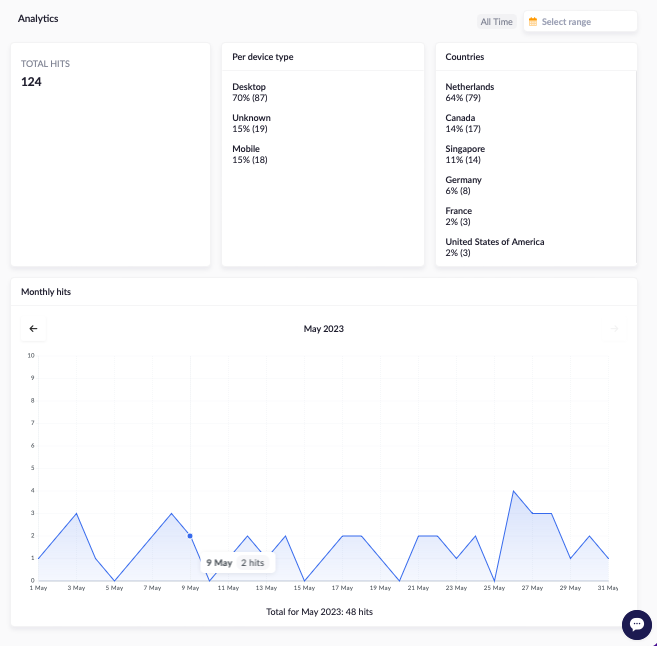
Check back frequently to see how your story or campaign is performing.
If you have further questions about the QR Code feature, feel free to chat with us via the button on the bottom right. 😃💬
