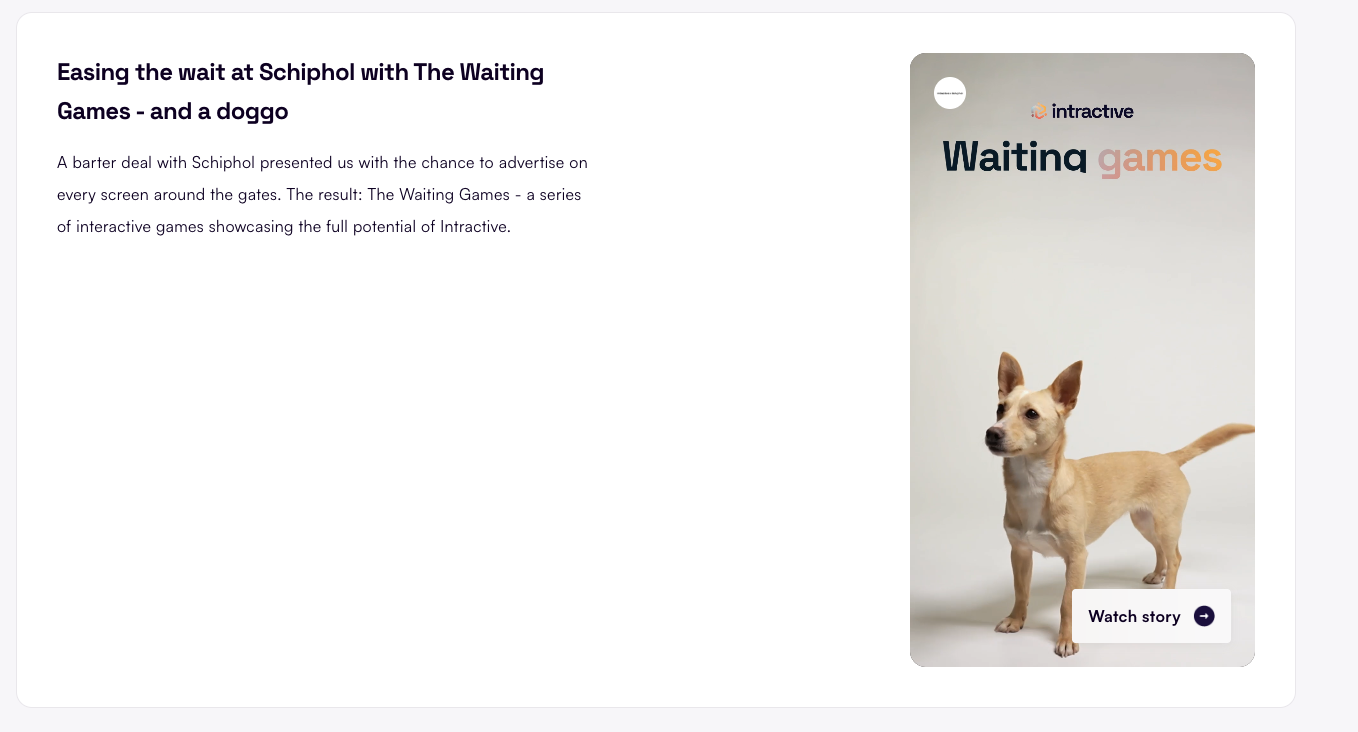
You built a killer story. Now what?
It’s not magic. It’s implementation. And yes, that word sounds boring, but that’s exactly where the magic happens.
🧰 First things first: your implementation toolbox
Every story built with Intractive gives you: an embed code (popup and inline).
(Don’t skip this bit): For your website implementation you need this embed code. And here’s the catch - it’s different for every story. So, no copy-pasting from this article. Hop into the Builder, grab the code for your masterpiece.
How?
Share > Embed popup/inline > follow the steps.
Now, lets get started!
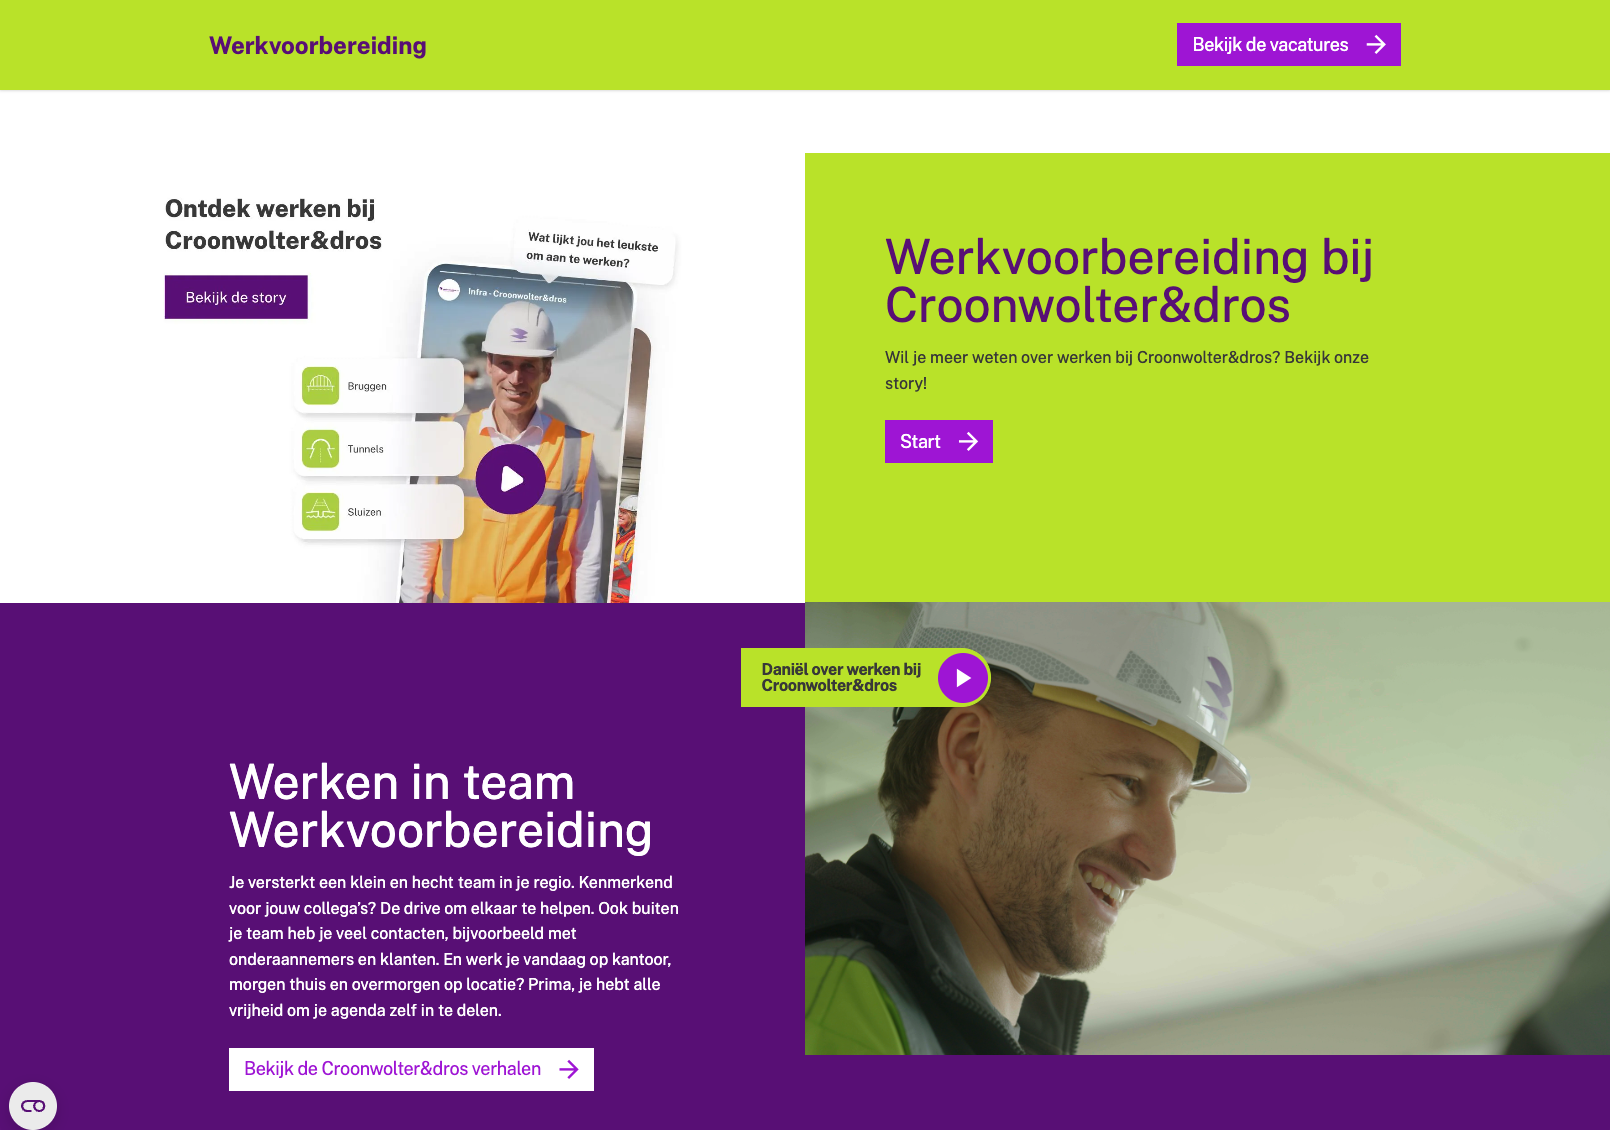
💻 Website implementation
There are three main ways to embed an interactive story, ranging from simple to more technical.
1. Using the Intractive SDK (popup version)
How it works:
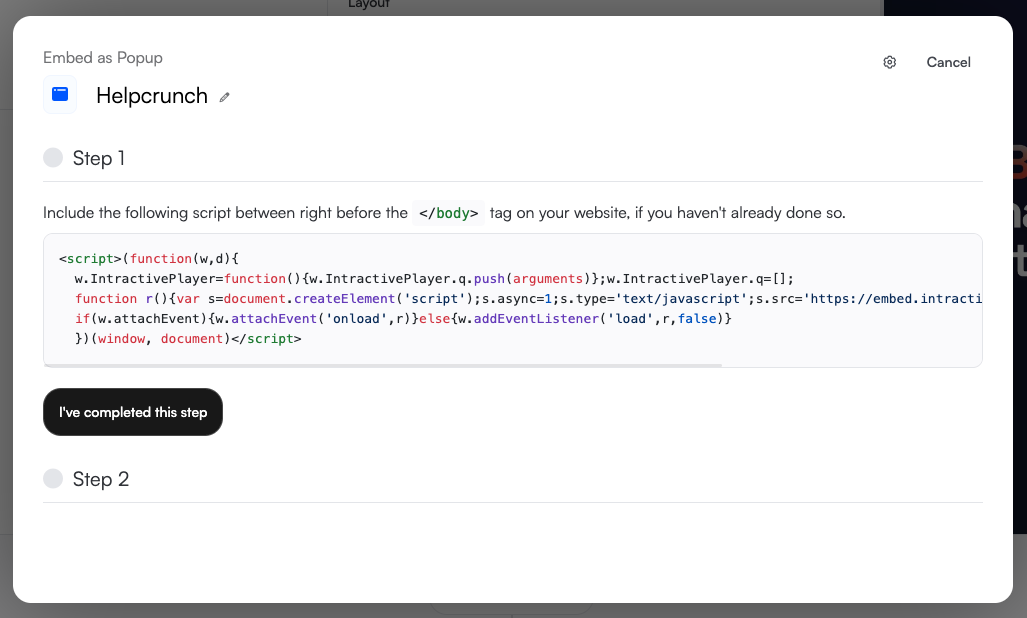
Step 1: Add the SDK script in the <head> or just before </body>:
Go to your story in the Builder, hit Share, choose Embed popup, and there it is - your very own SDK code. Copy, paste, done.
Example:
Completed this step? Go to step 2.
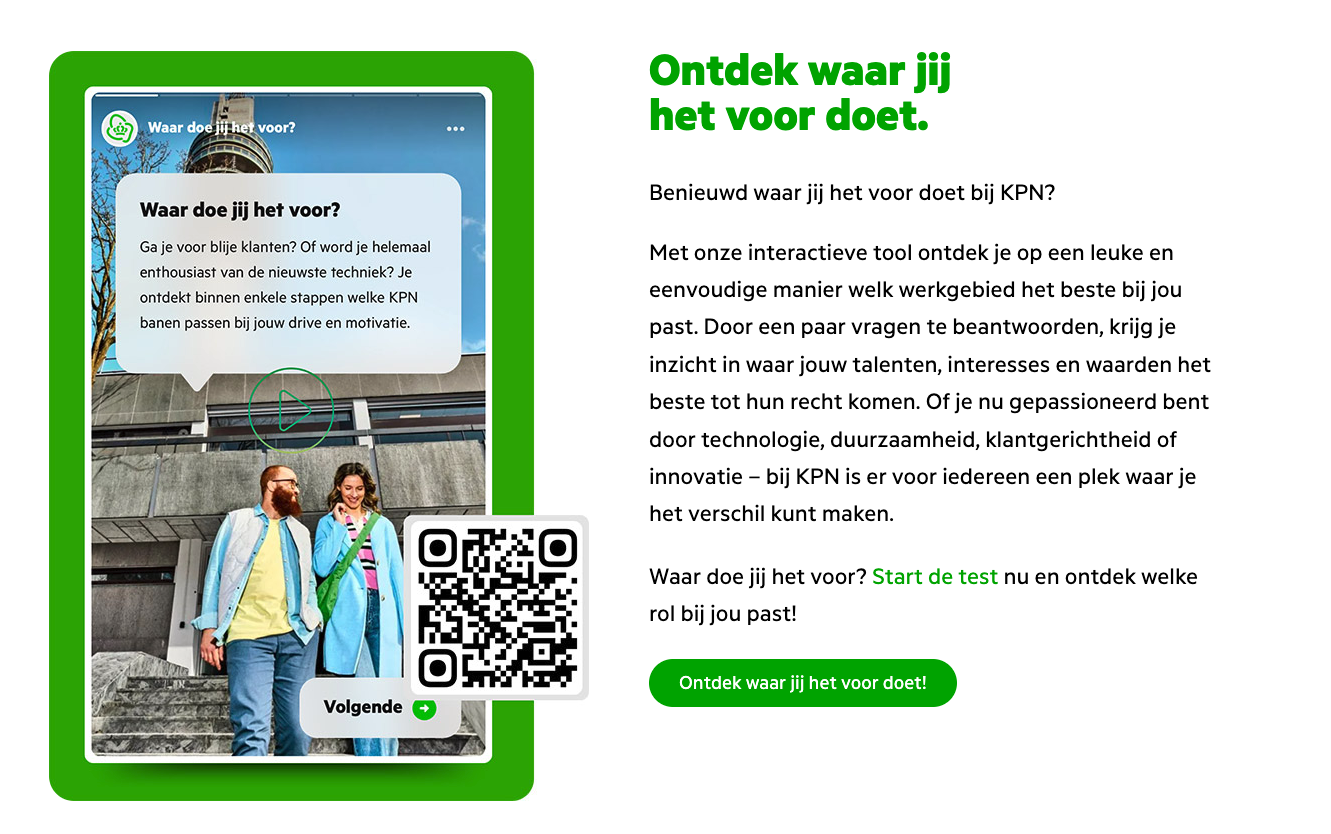
Step 2: Place the link to your story (from step 2) behind text or an image
Example:
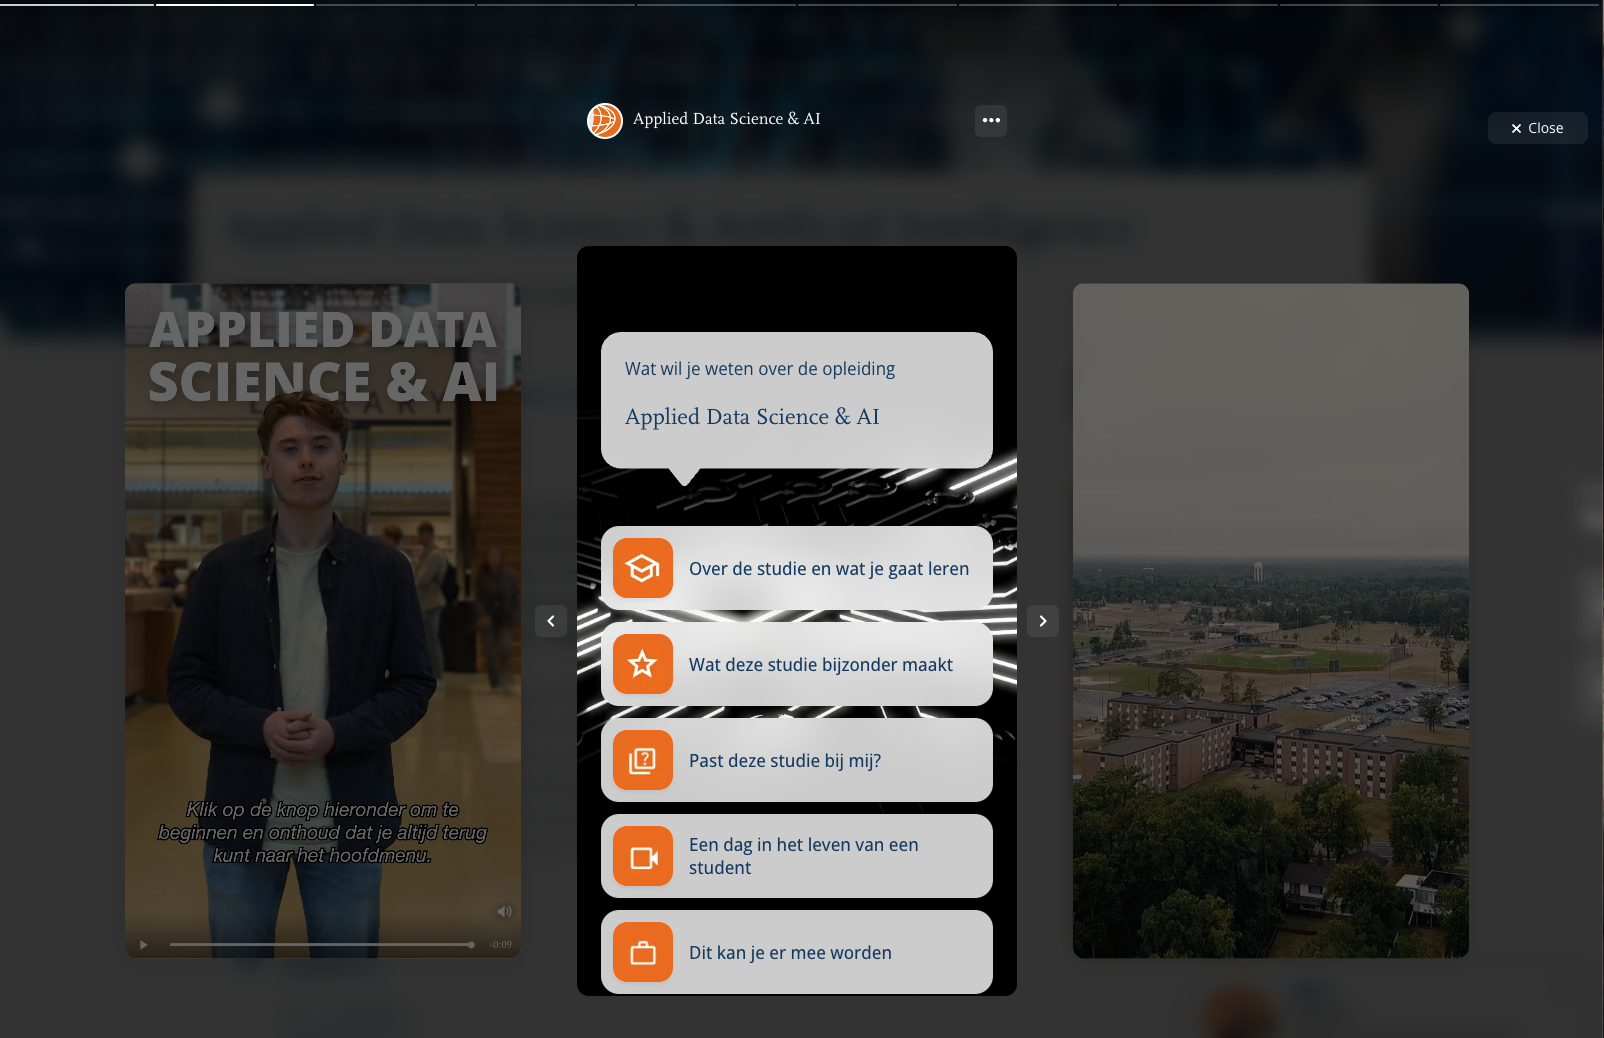
Step 3: When clicked, the story opens in a popup. (If the script doesn’t load, the regular link still works).
💡 Pros & cons at a glance
Pros:
-
Easy to set up: just drop in the script and link your story
-
Works with any clickable element (text, image, button)
-
Fallback-safe: if the SDK doesn’t load, the link still works
-
Doesn’t take up space on your page until clicked
Cons:
-
Limited control over popup design
-
Requires adding a script to your site (may be restricted by some CMS/security policies)
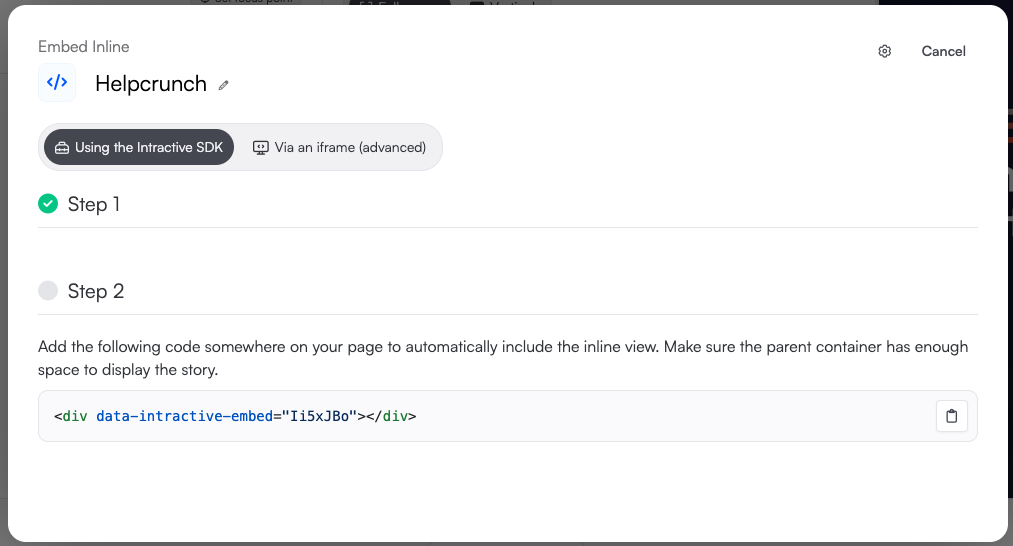
2. Using the Intractive SDK (inline version)
Want your story embedded directly on the page without opening a popup? The inline SDK has your back.
How it works:
Step 1: Add the SDK script as shown above.
Step 2: Place an element with the inline attributes:
Example:
<div data-intractive-embed="e4nrtG0"></div>
Step 3: The story appears directly on the page (approx. 480×640 px).
💡 Pros & cons at a glance
Pros:
-
Super simple to embed: one element and you’re done
-
Story is always visible on the page
-
No need for advanced coding skills
Cons:
-
Fixed size (~480×640 px)
-
No control over styling or dimensions
-
Session data can get noisy: every time the story loads on the page it counts as a new session
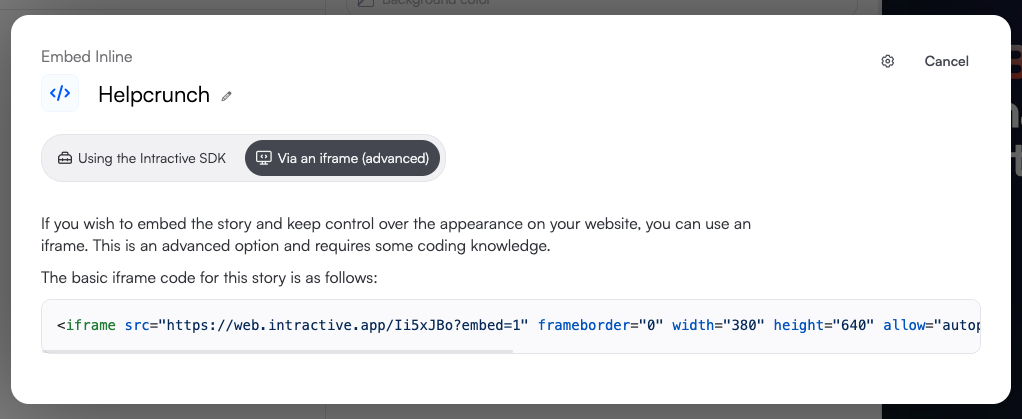
3. Using an iFrame (responsive with full control)
You want full customization control? Go for an iFrame to embed the story exactly the way you want, no SDK script needed.
How it works:
This is an advanced option and requires some coding knowledge.
Step 1: Add an iFrame with a responsive wrapper:
To find the iframe code you click Share > Embed inline > Via an iframe.
💡 Pros & cons at a glance
Pros:
-
Maximum design flexibility: adjust height, width, and styling
-
No SDK script needed (works well if scripts aren’t allowed)
-
Can be fully responsive
Cons:
-
Requires some HTML/CSS knowledge
-
Slightly longer setup time
-
No built-in fallback like the SDK popup option
🏁 Final thoughts
Implementation isn’t an afterthought, it’s half the impact.
And luckily, with Intractive, the tech side is simple. So you can focus on what really matters: getting people to click, care, and come back.
Want to know what works? Don’t guess, track. For example: A/B test different placements (e.g. CTA button vs. inline link).
Need help? We’ve got templates, visuals, and fresh eyes ready. Just say the word.
More ways to share your story 📱
Curious how to sprinkle your stories across social channels and direct messages without breaking a sweat? We also have a fresh guide showing you how to effortlessly spread your stories across social media and direct messaging apps.